Fixing DVD Drive Eject Button on a Laptop
I love my new Lenovo T530 Thinkpad Laptop except for one thing, whenever I grab it on the side and brush the DVD Eject button with my fingers, the door pops open! It’s way too sensitive! I found a bunch of software solutions that disable the DVD Eject button with a program that lives in the Windows System Tray but that just seemed wrong to me. A hardware problem deserves a hardware solution!
In brief, I opened up the DVD drive and used my Dremel to trim just a hair off the button actuator. Now instead of opening whenever I flutter my eyelashes at it, you need to actually push the button. Perfect!
I wrote an Instructable about fixing the DVD Drive Eject Button
First, turn off your laptop.
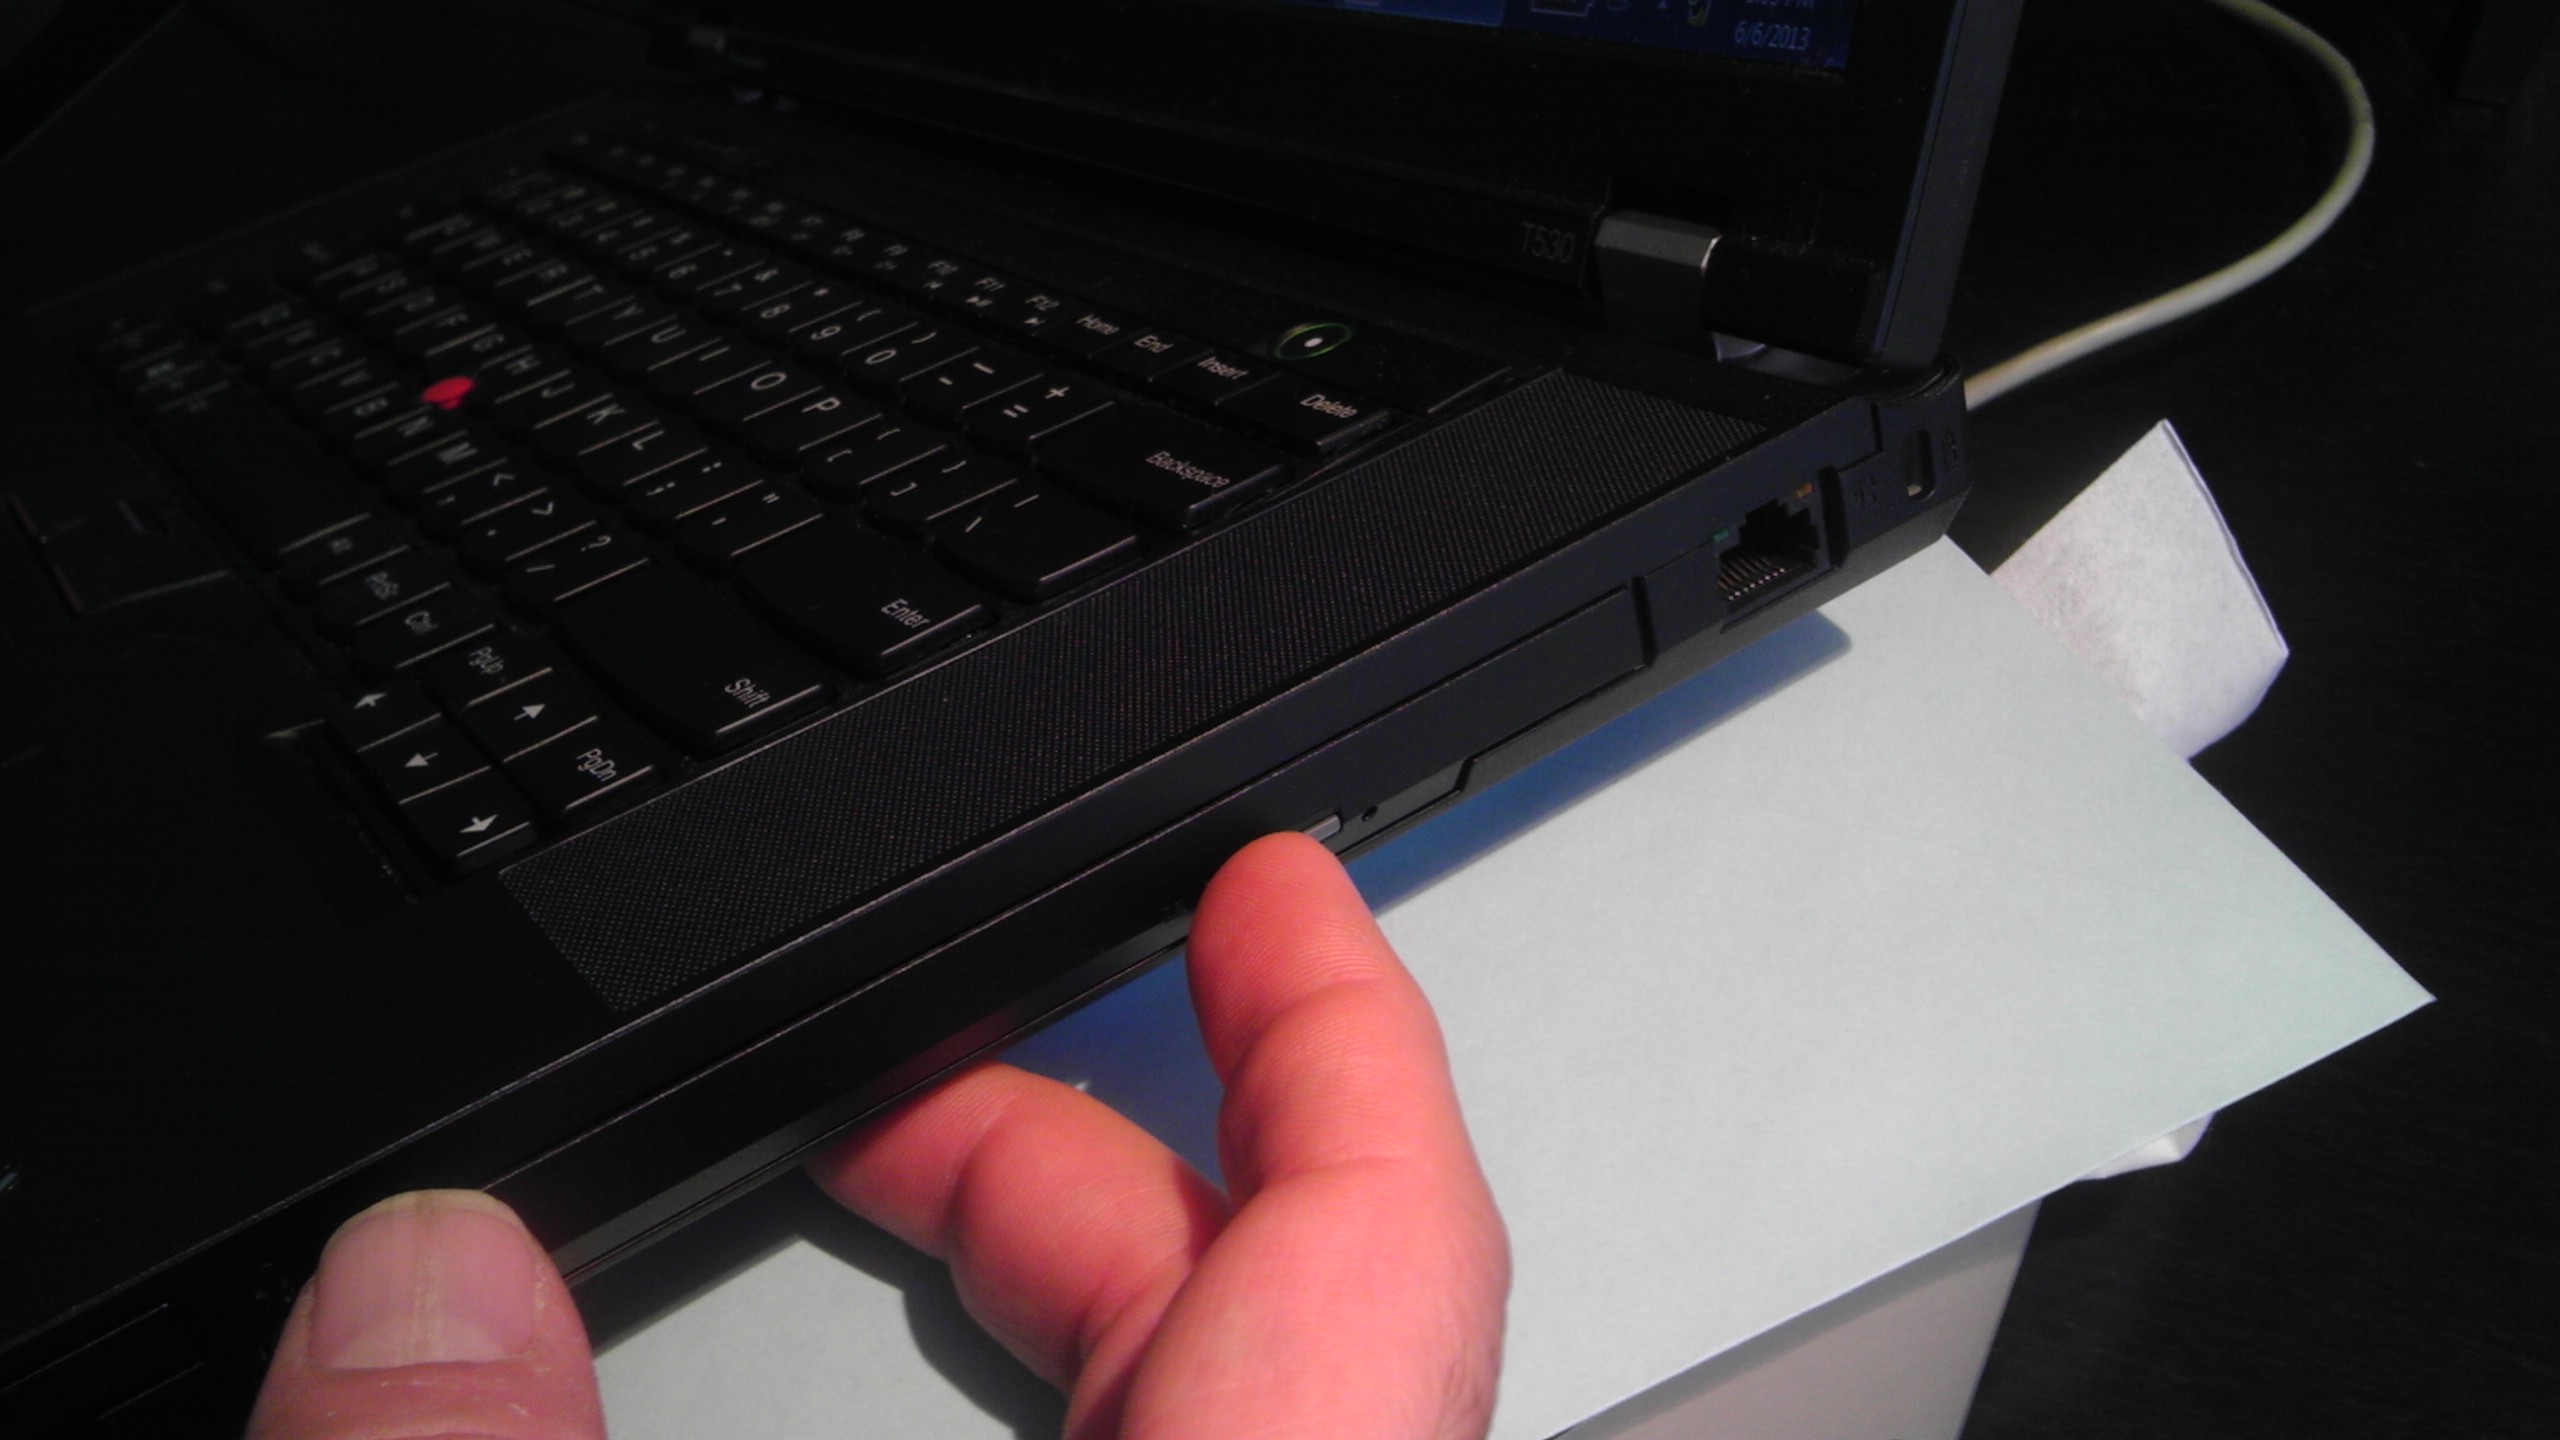
Then remove the drive from your laptop. On my computer, there were two slides I had to move and the drive came right out.
Next, eject the drive manually. To open most drives, you just stick a thin piece of metal like a safety pin in a hole in the front and CLICK! out it comes!
Take the faceplate off the drive so you can get to the back of the button. On my drive I didn’t need to fully remove the faceplate to get the access I needed.
After getting the first tab off, I realized that getting the other tab off was much harder [frownyface] but I also noticed that I didn’t need to remove the faceplate completely anyway! [happyface]
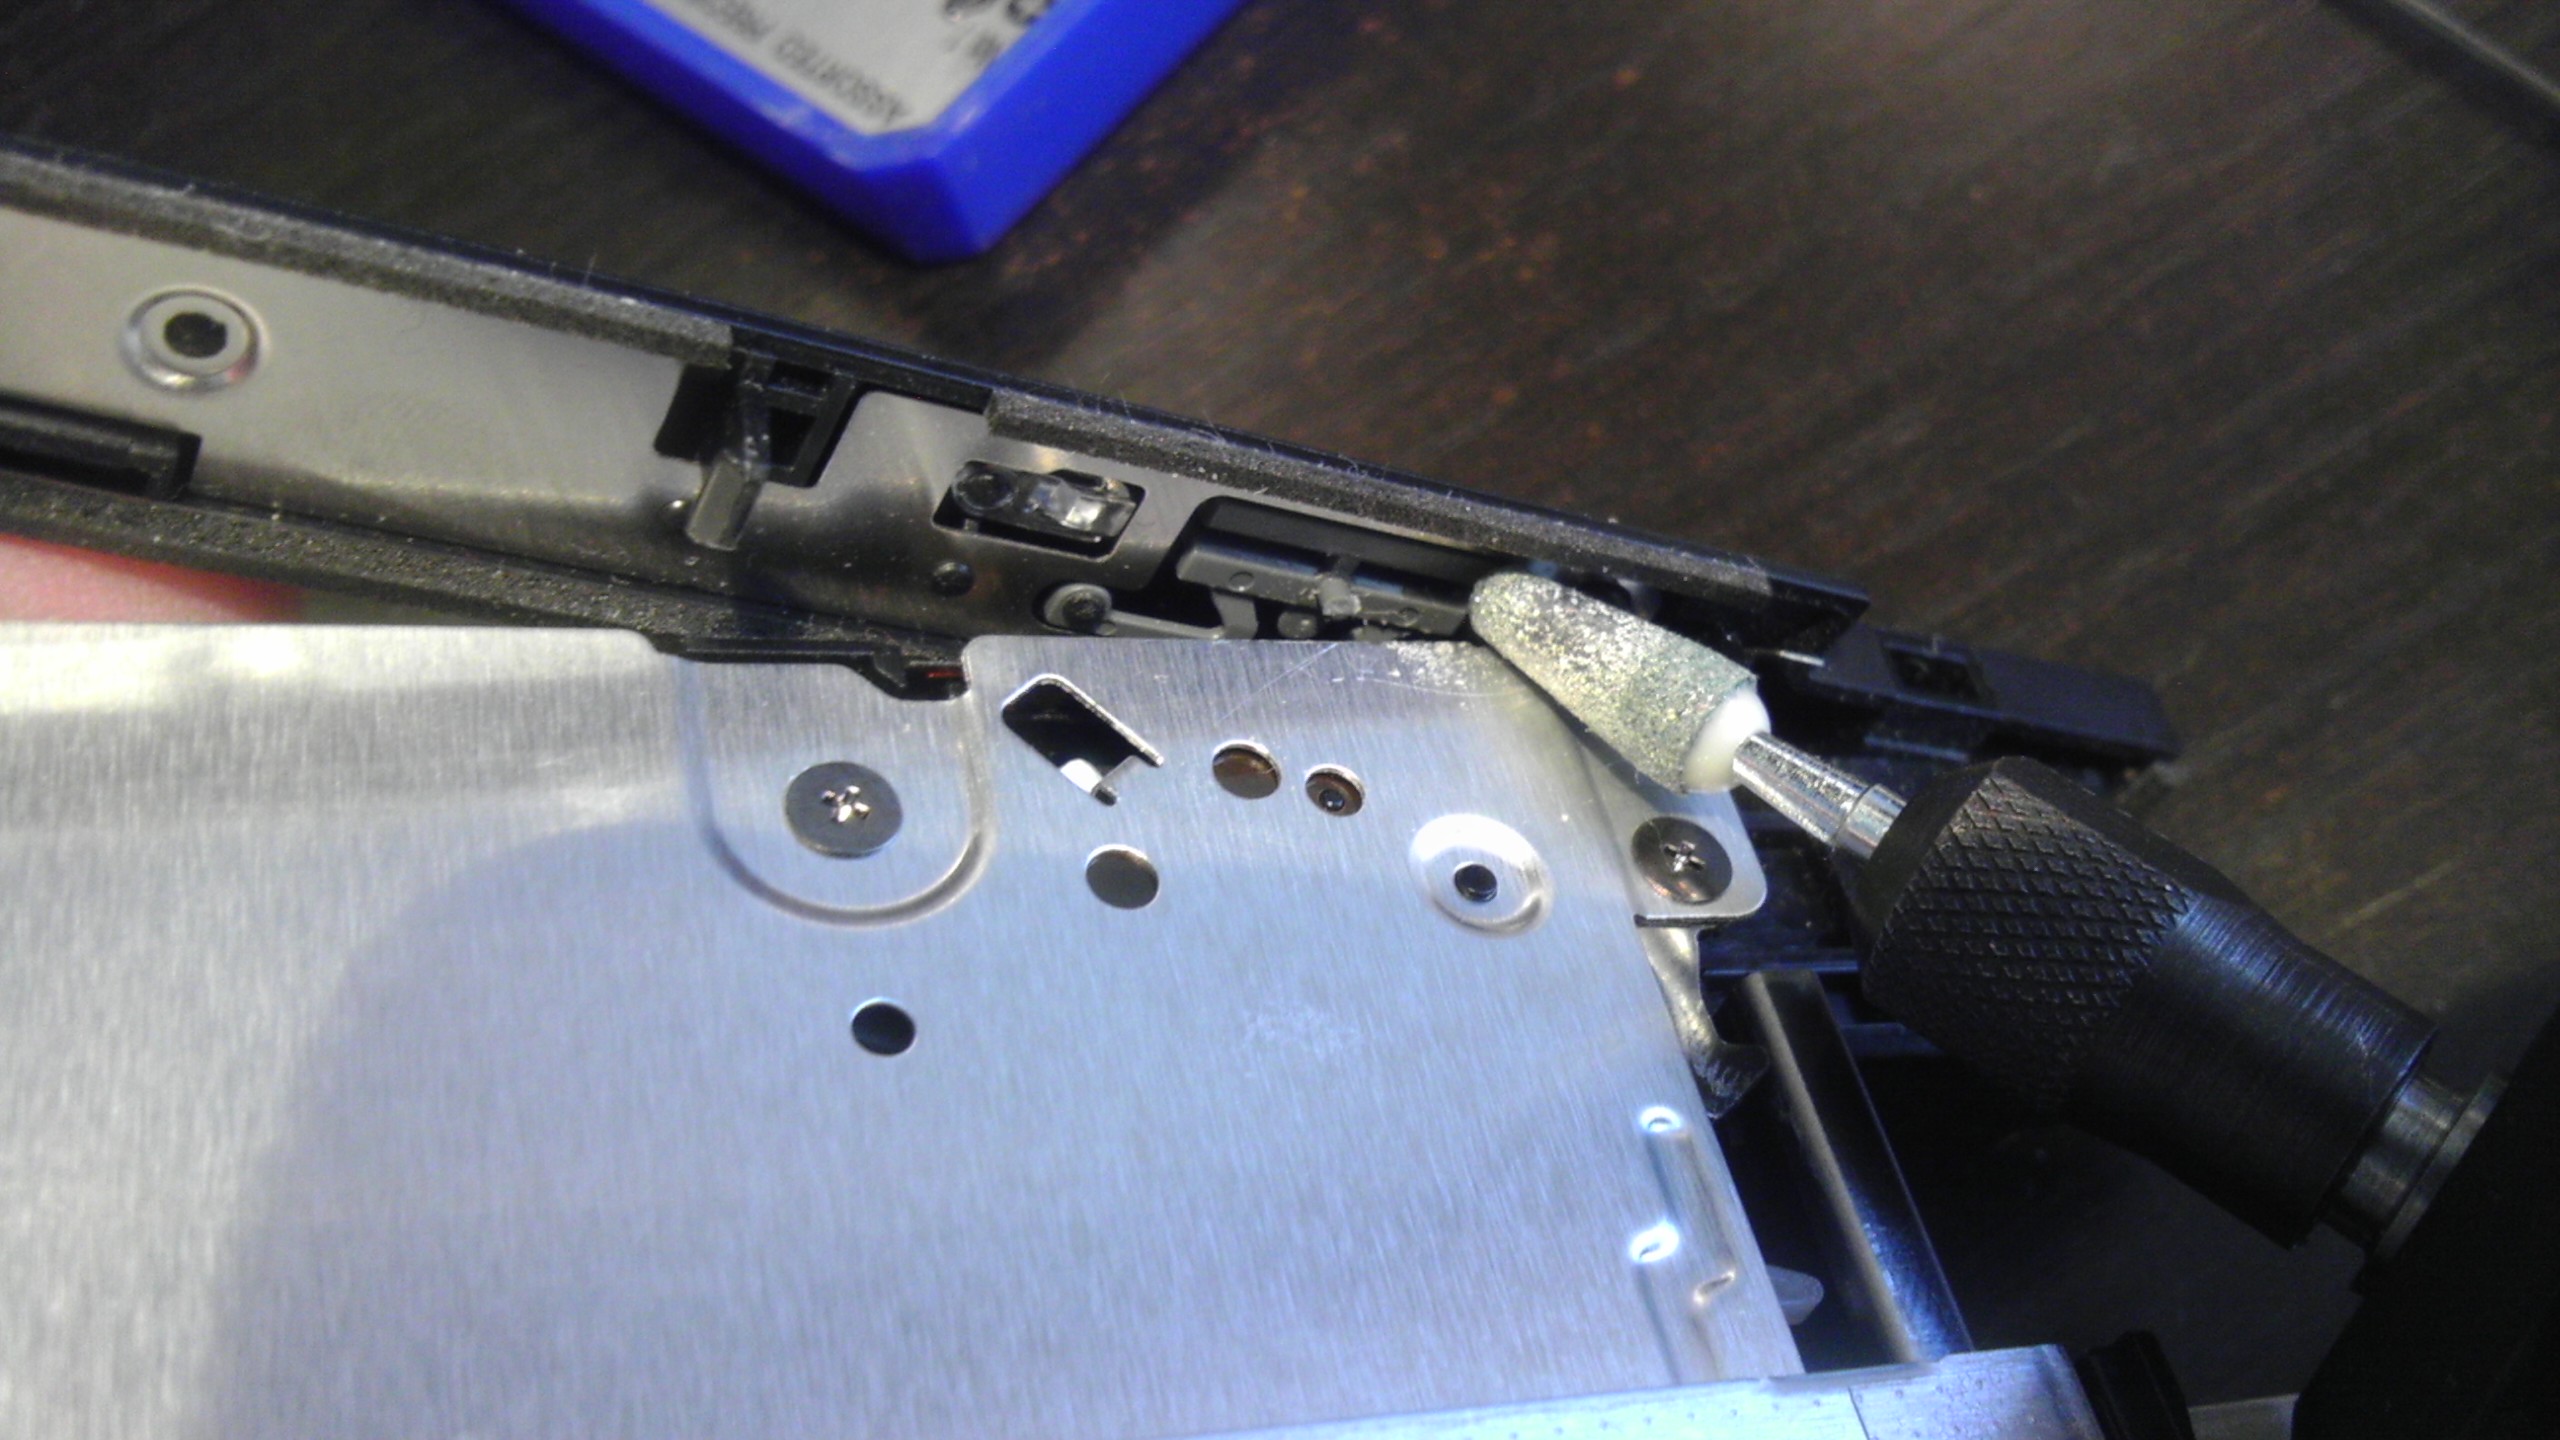
As you can see in the image, I bent the faceplate just enough so I could see the base of the button. The little nub sticking off the back of the faceplate is what pushes the actual button that is on the drive itself. I shaved just the tiniest bit of the actuator off with a Dremel tool and Ta Da! the button is perfect!
I did it in 2 goes, I shaved it off just a hair and reassembled it. Then I shaved off another tiny bit before I was happy with it. I was worried the button would become loose where it sits but all I did was reduce the spring tension on the button. Snapping everything back together took just a few seconds. And actually, it took longer to write this Instructable than it did to do the fix.
Hope this works as well for you as it did for me!