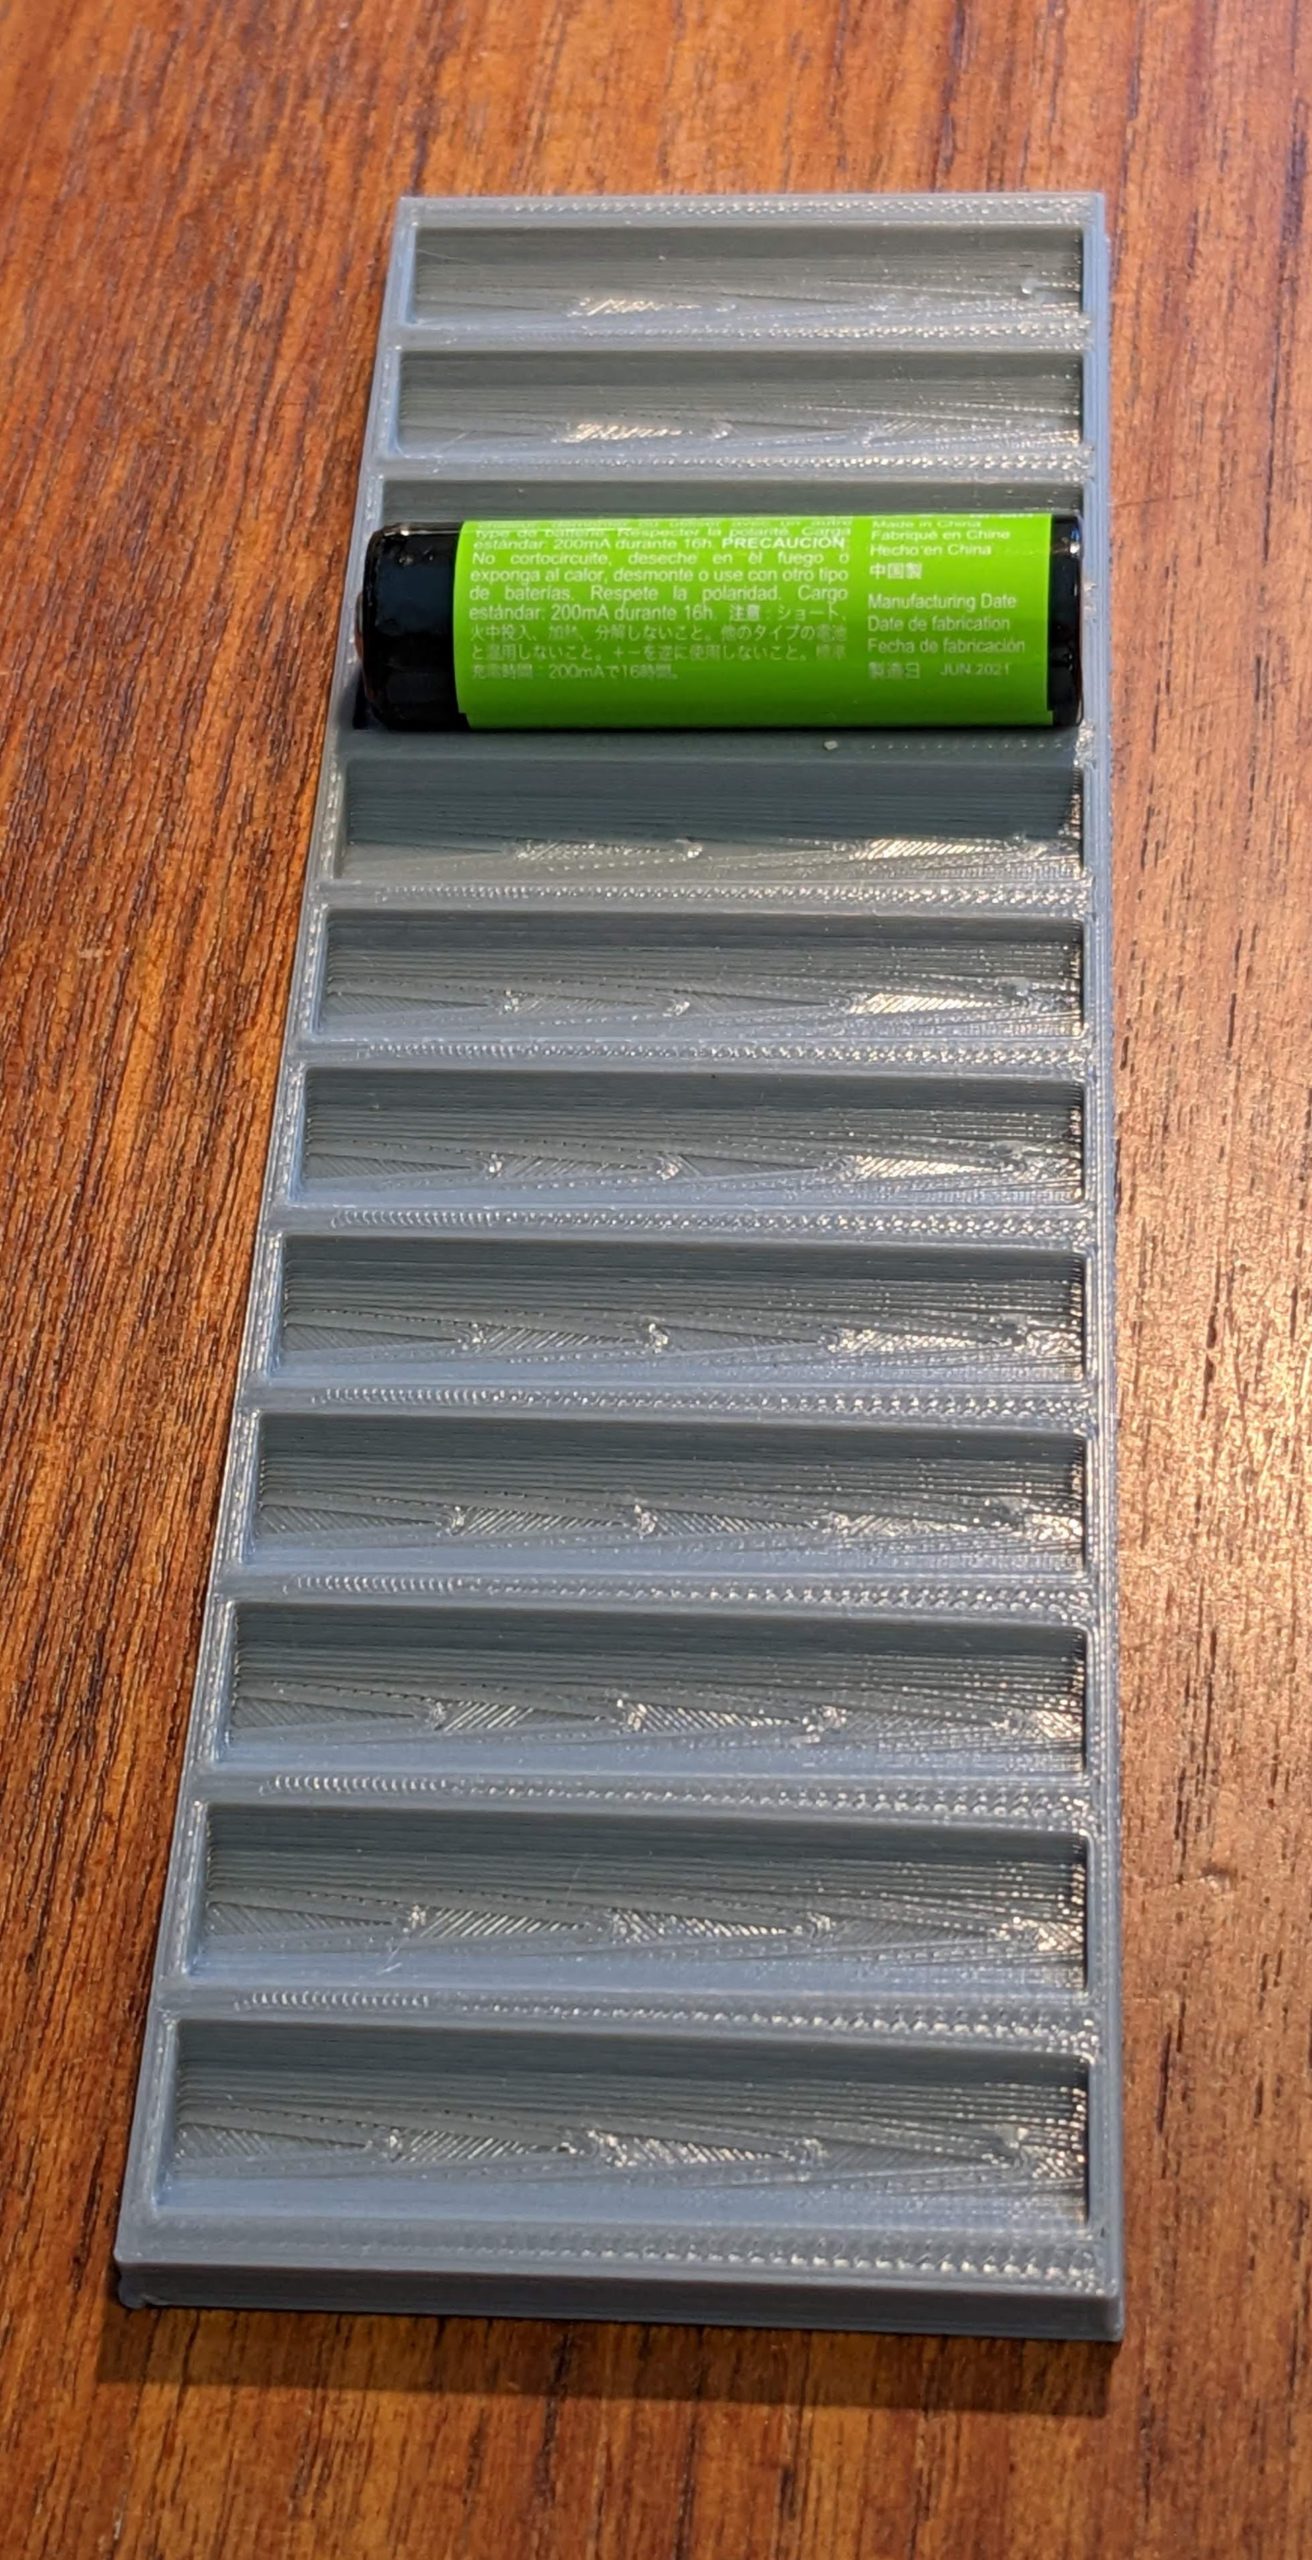
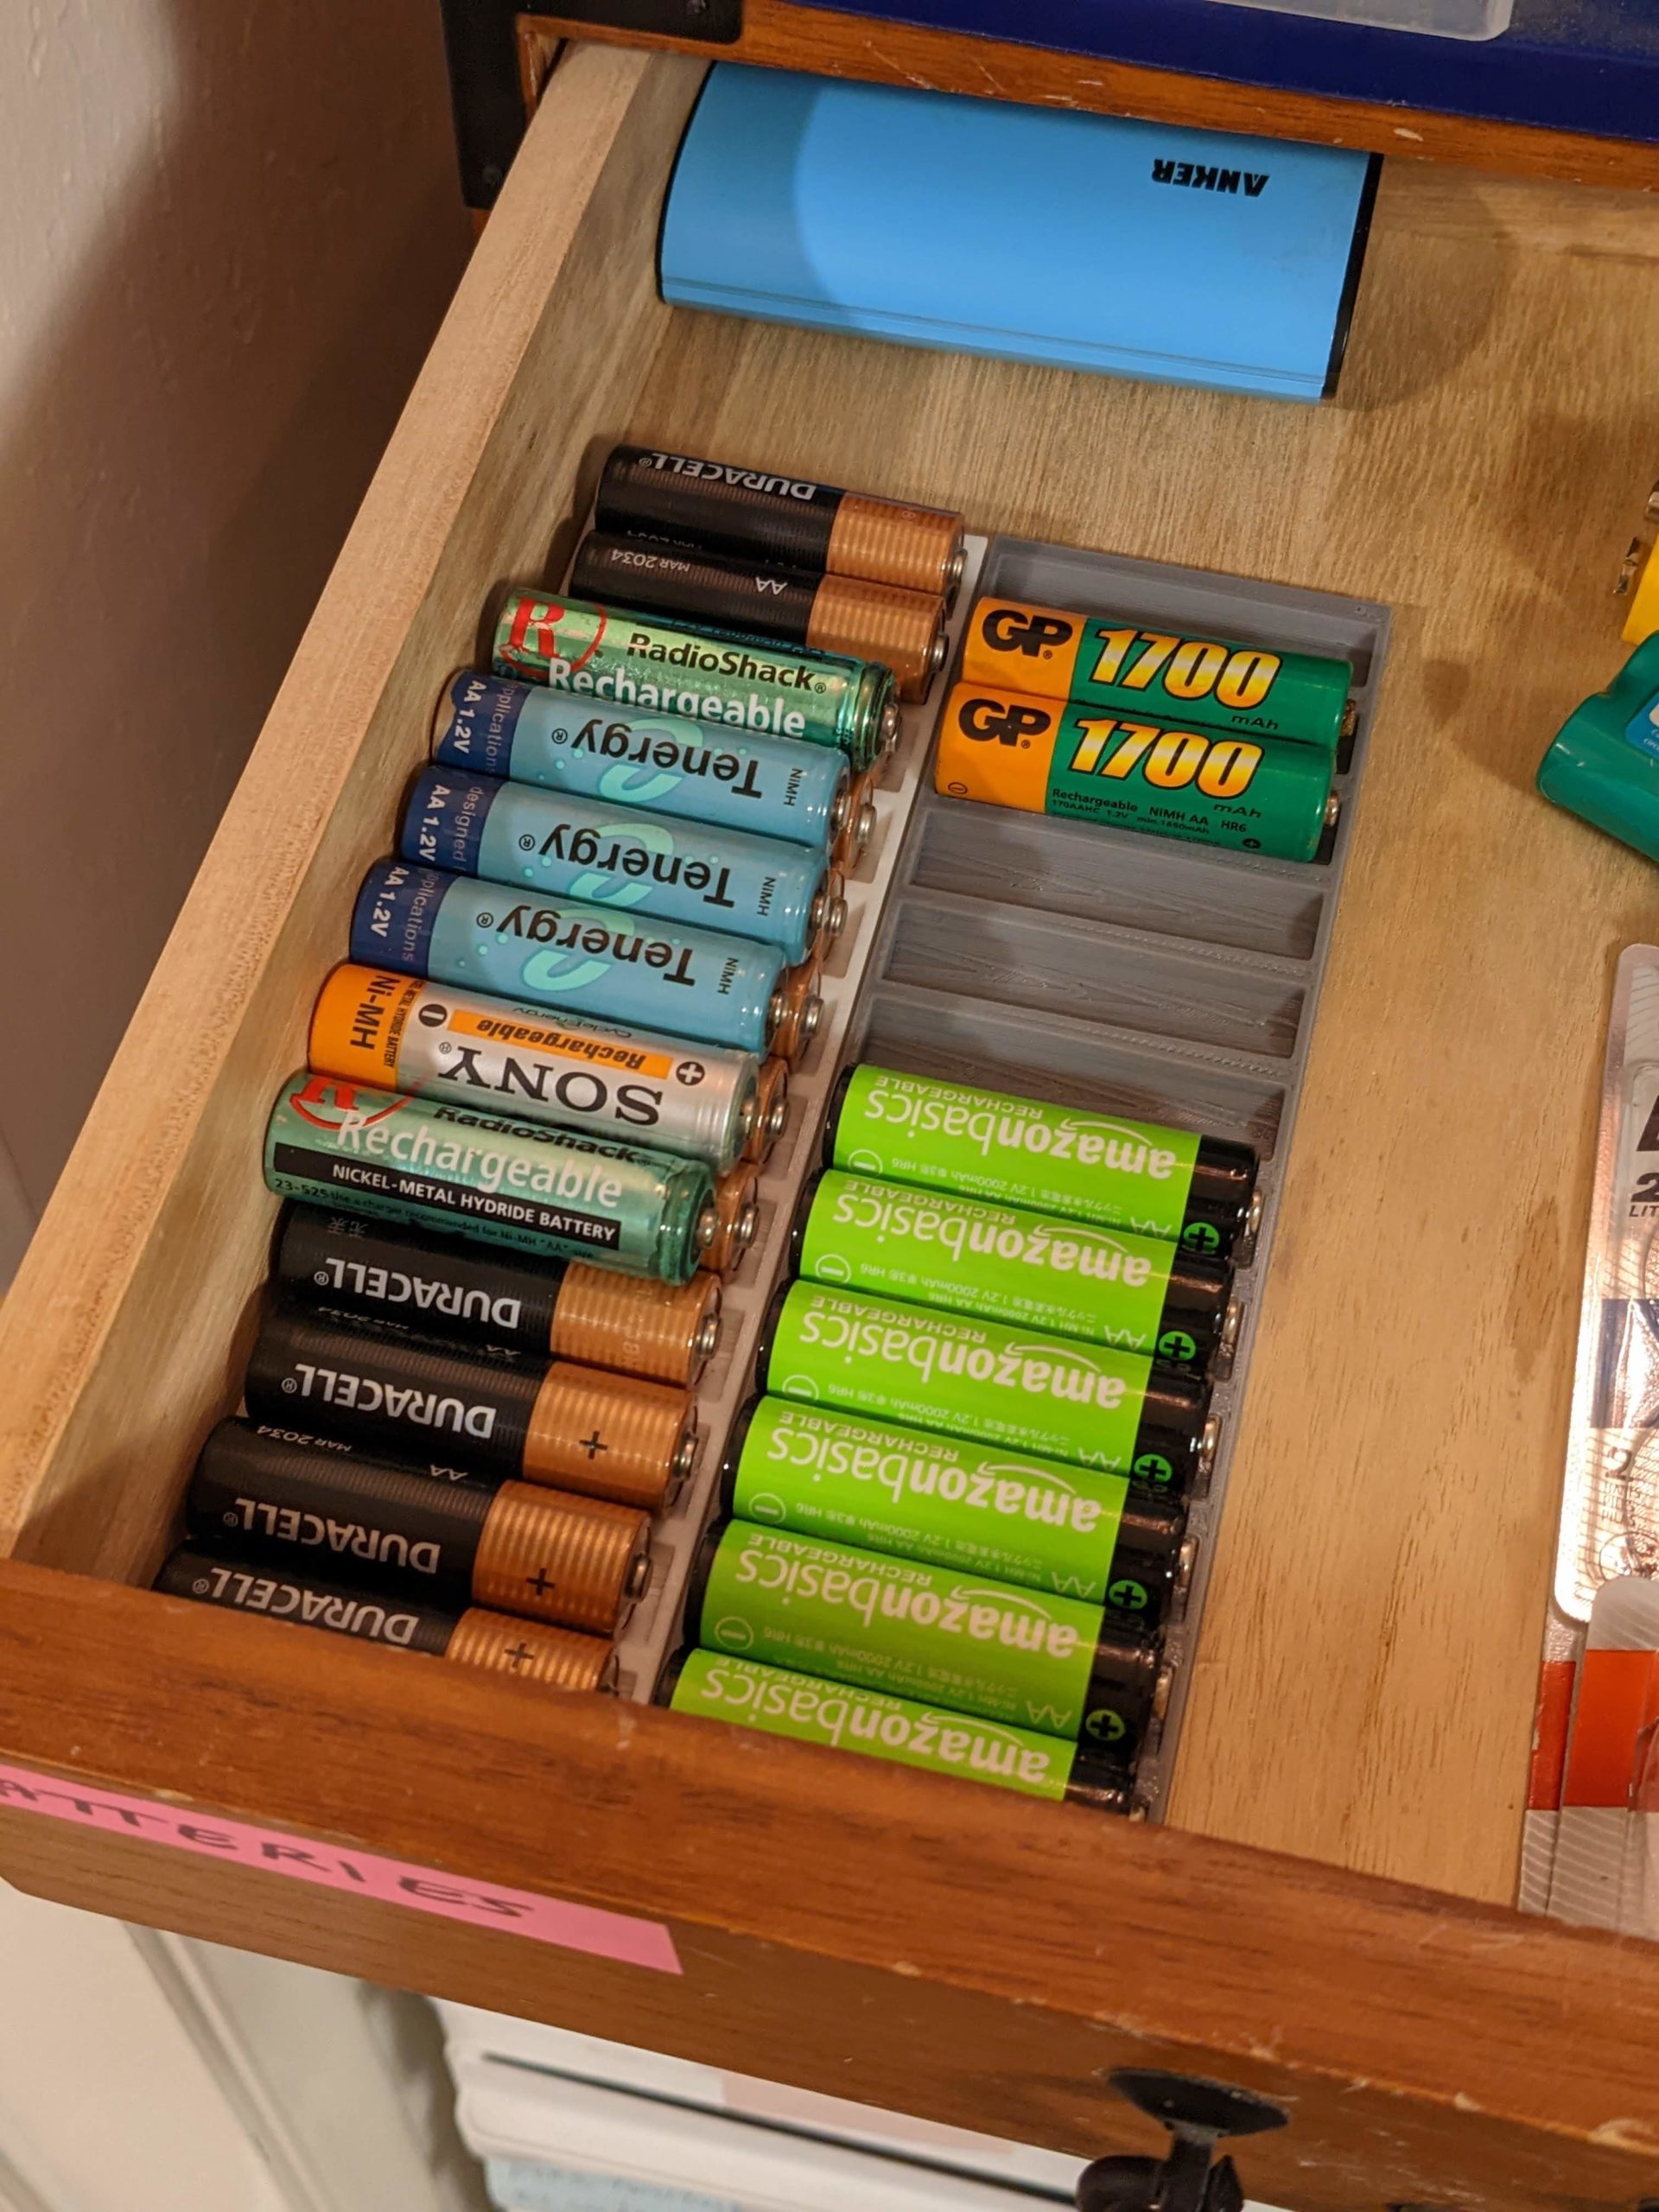
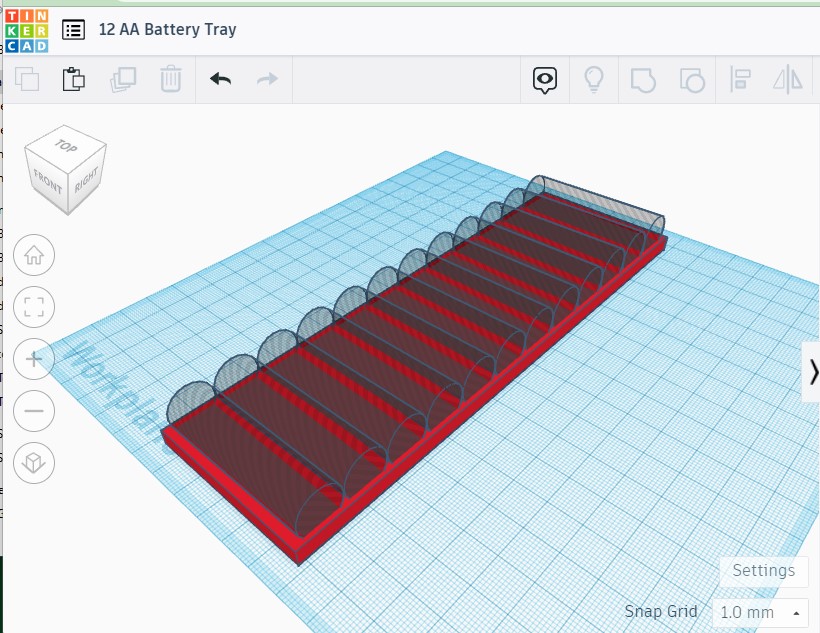
Archive for the ‘3D Printing’ Category.

3D Printing Shelved

A friend lent me a 3d printer for many months. It was frustrating, frustrating, fun, and frustrating. I’m giving it back to him. It’s an Ender 3 Pro with a Volcano Hot End from Matter Hackers.

Key issues for giving up were:
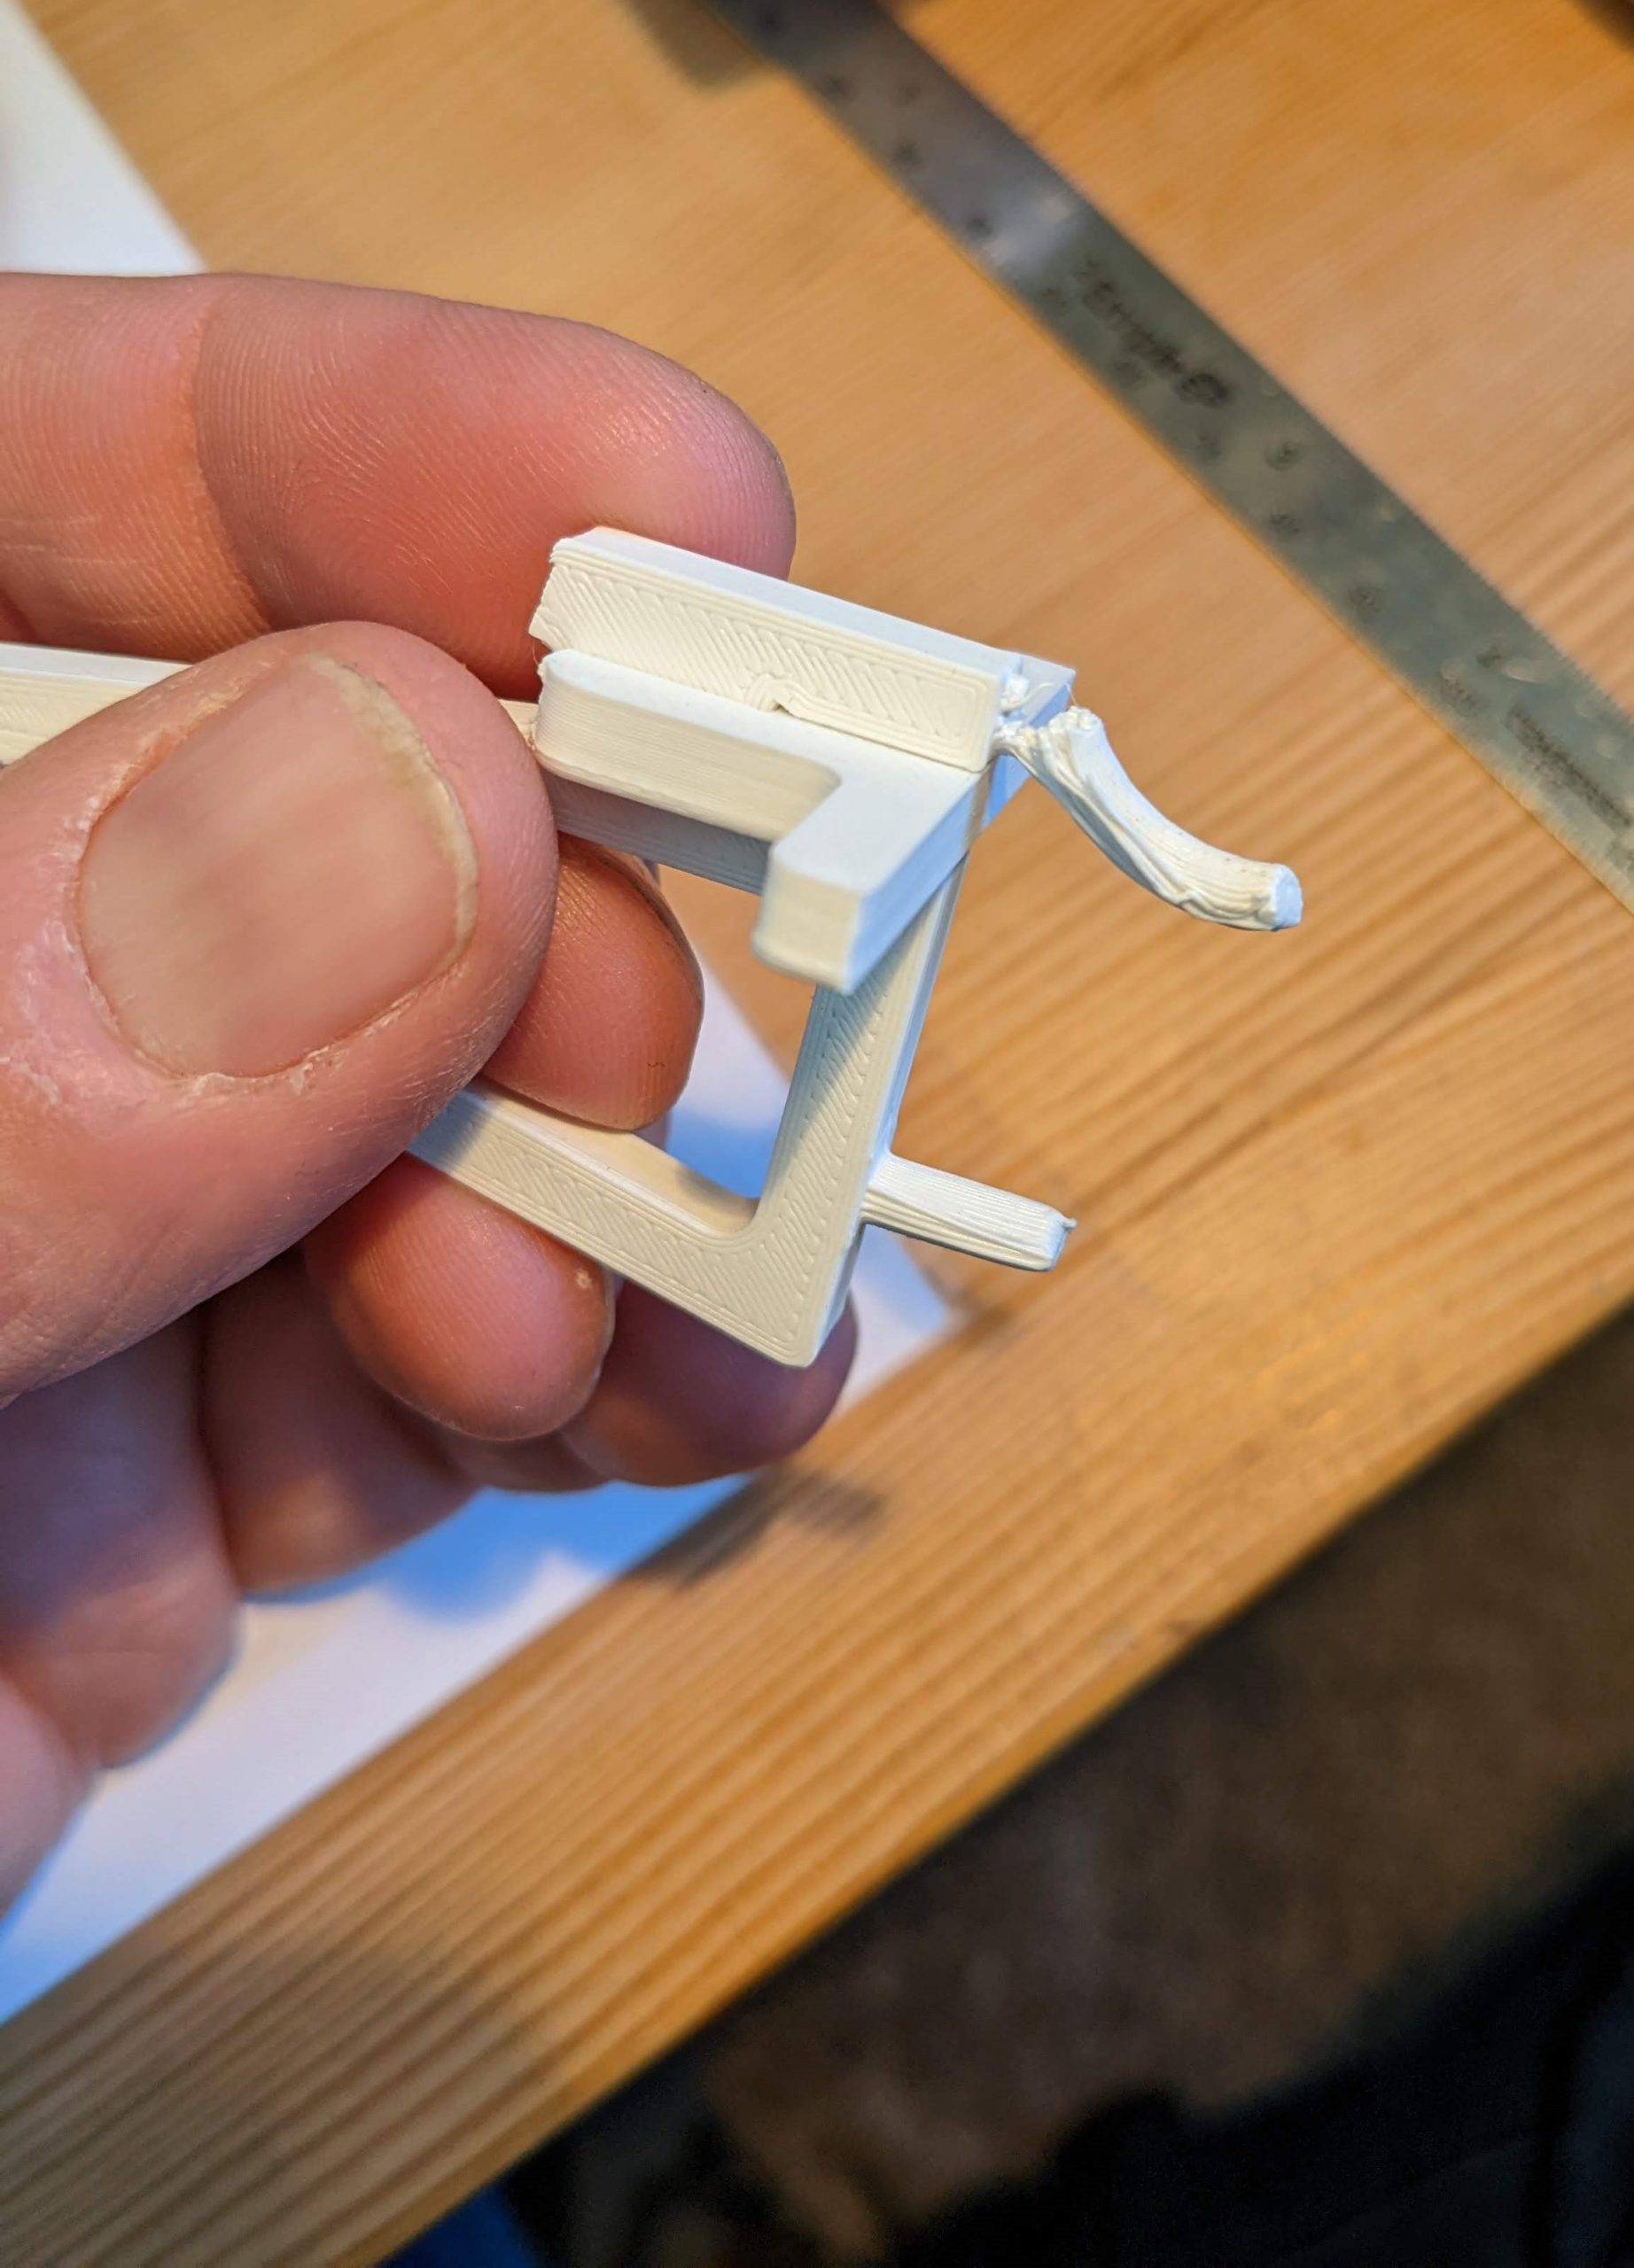
– layer adhesion (parts are always weak in one plane)
– unsolvable elephant foot problems
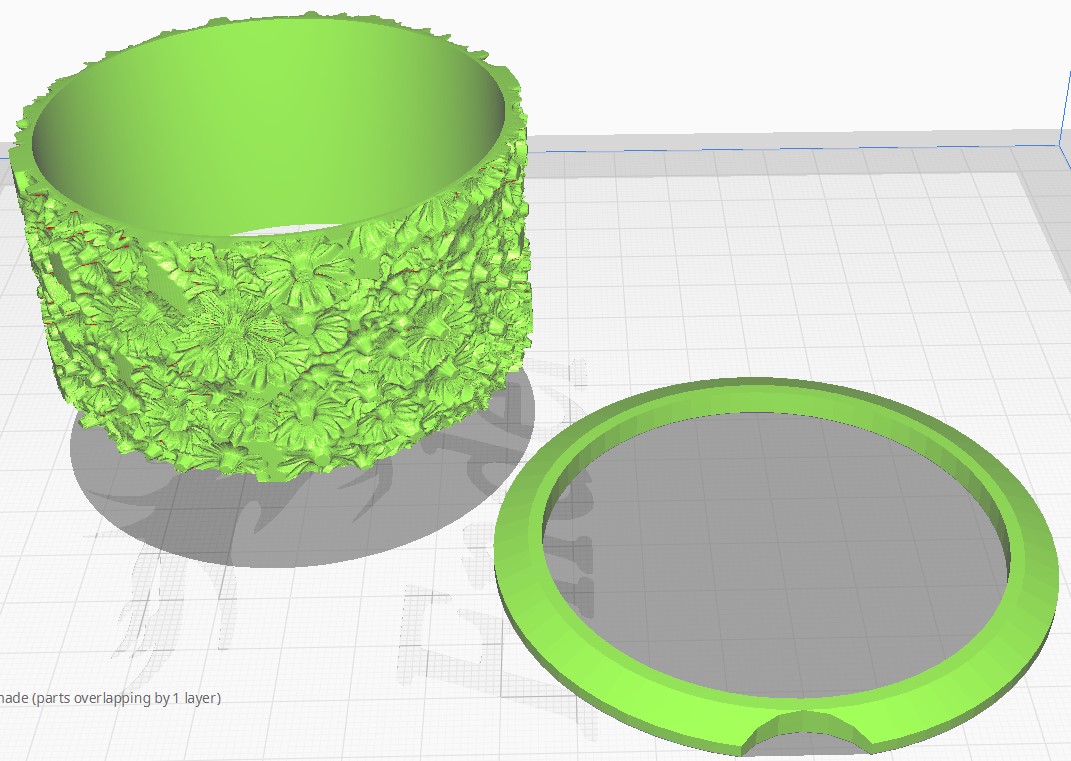
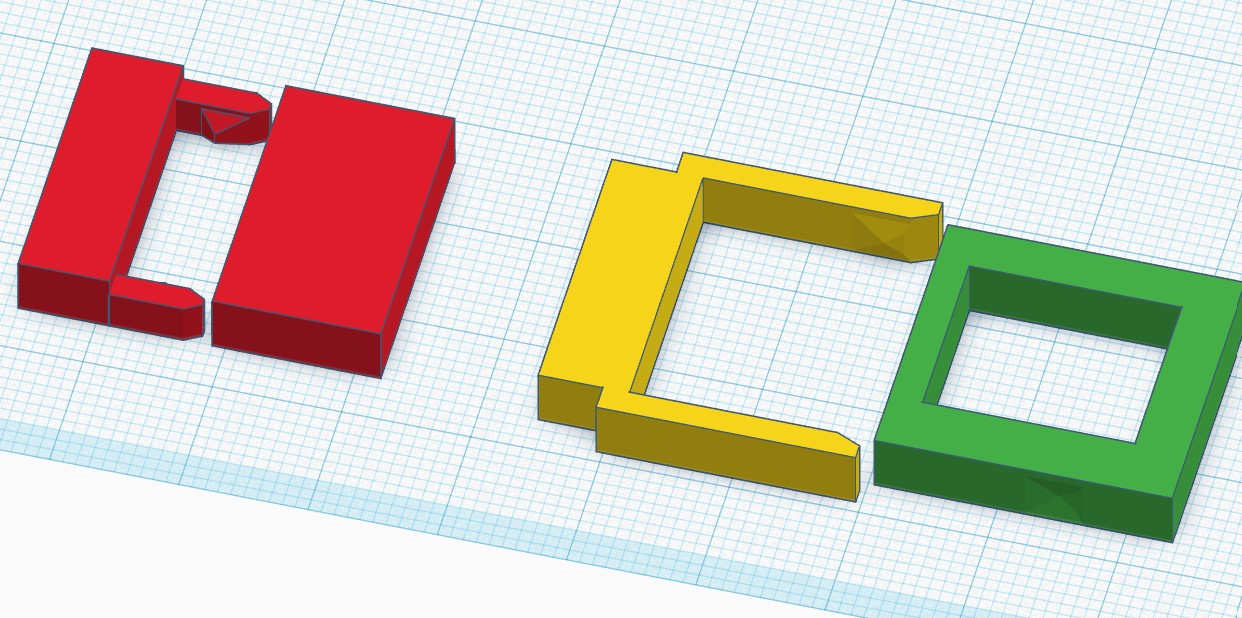
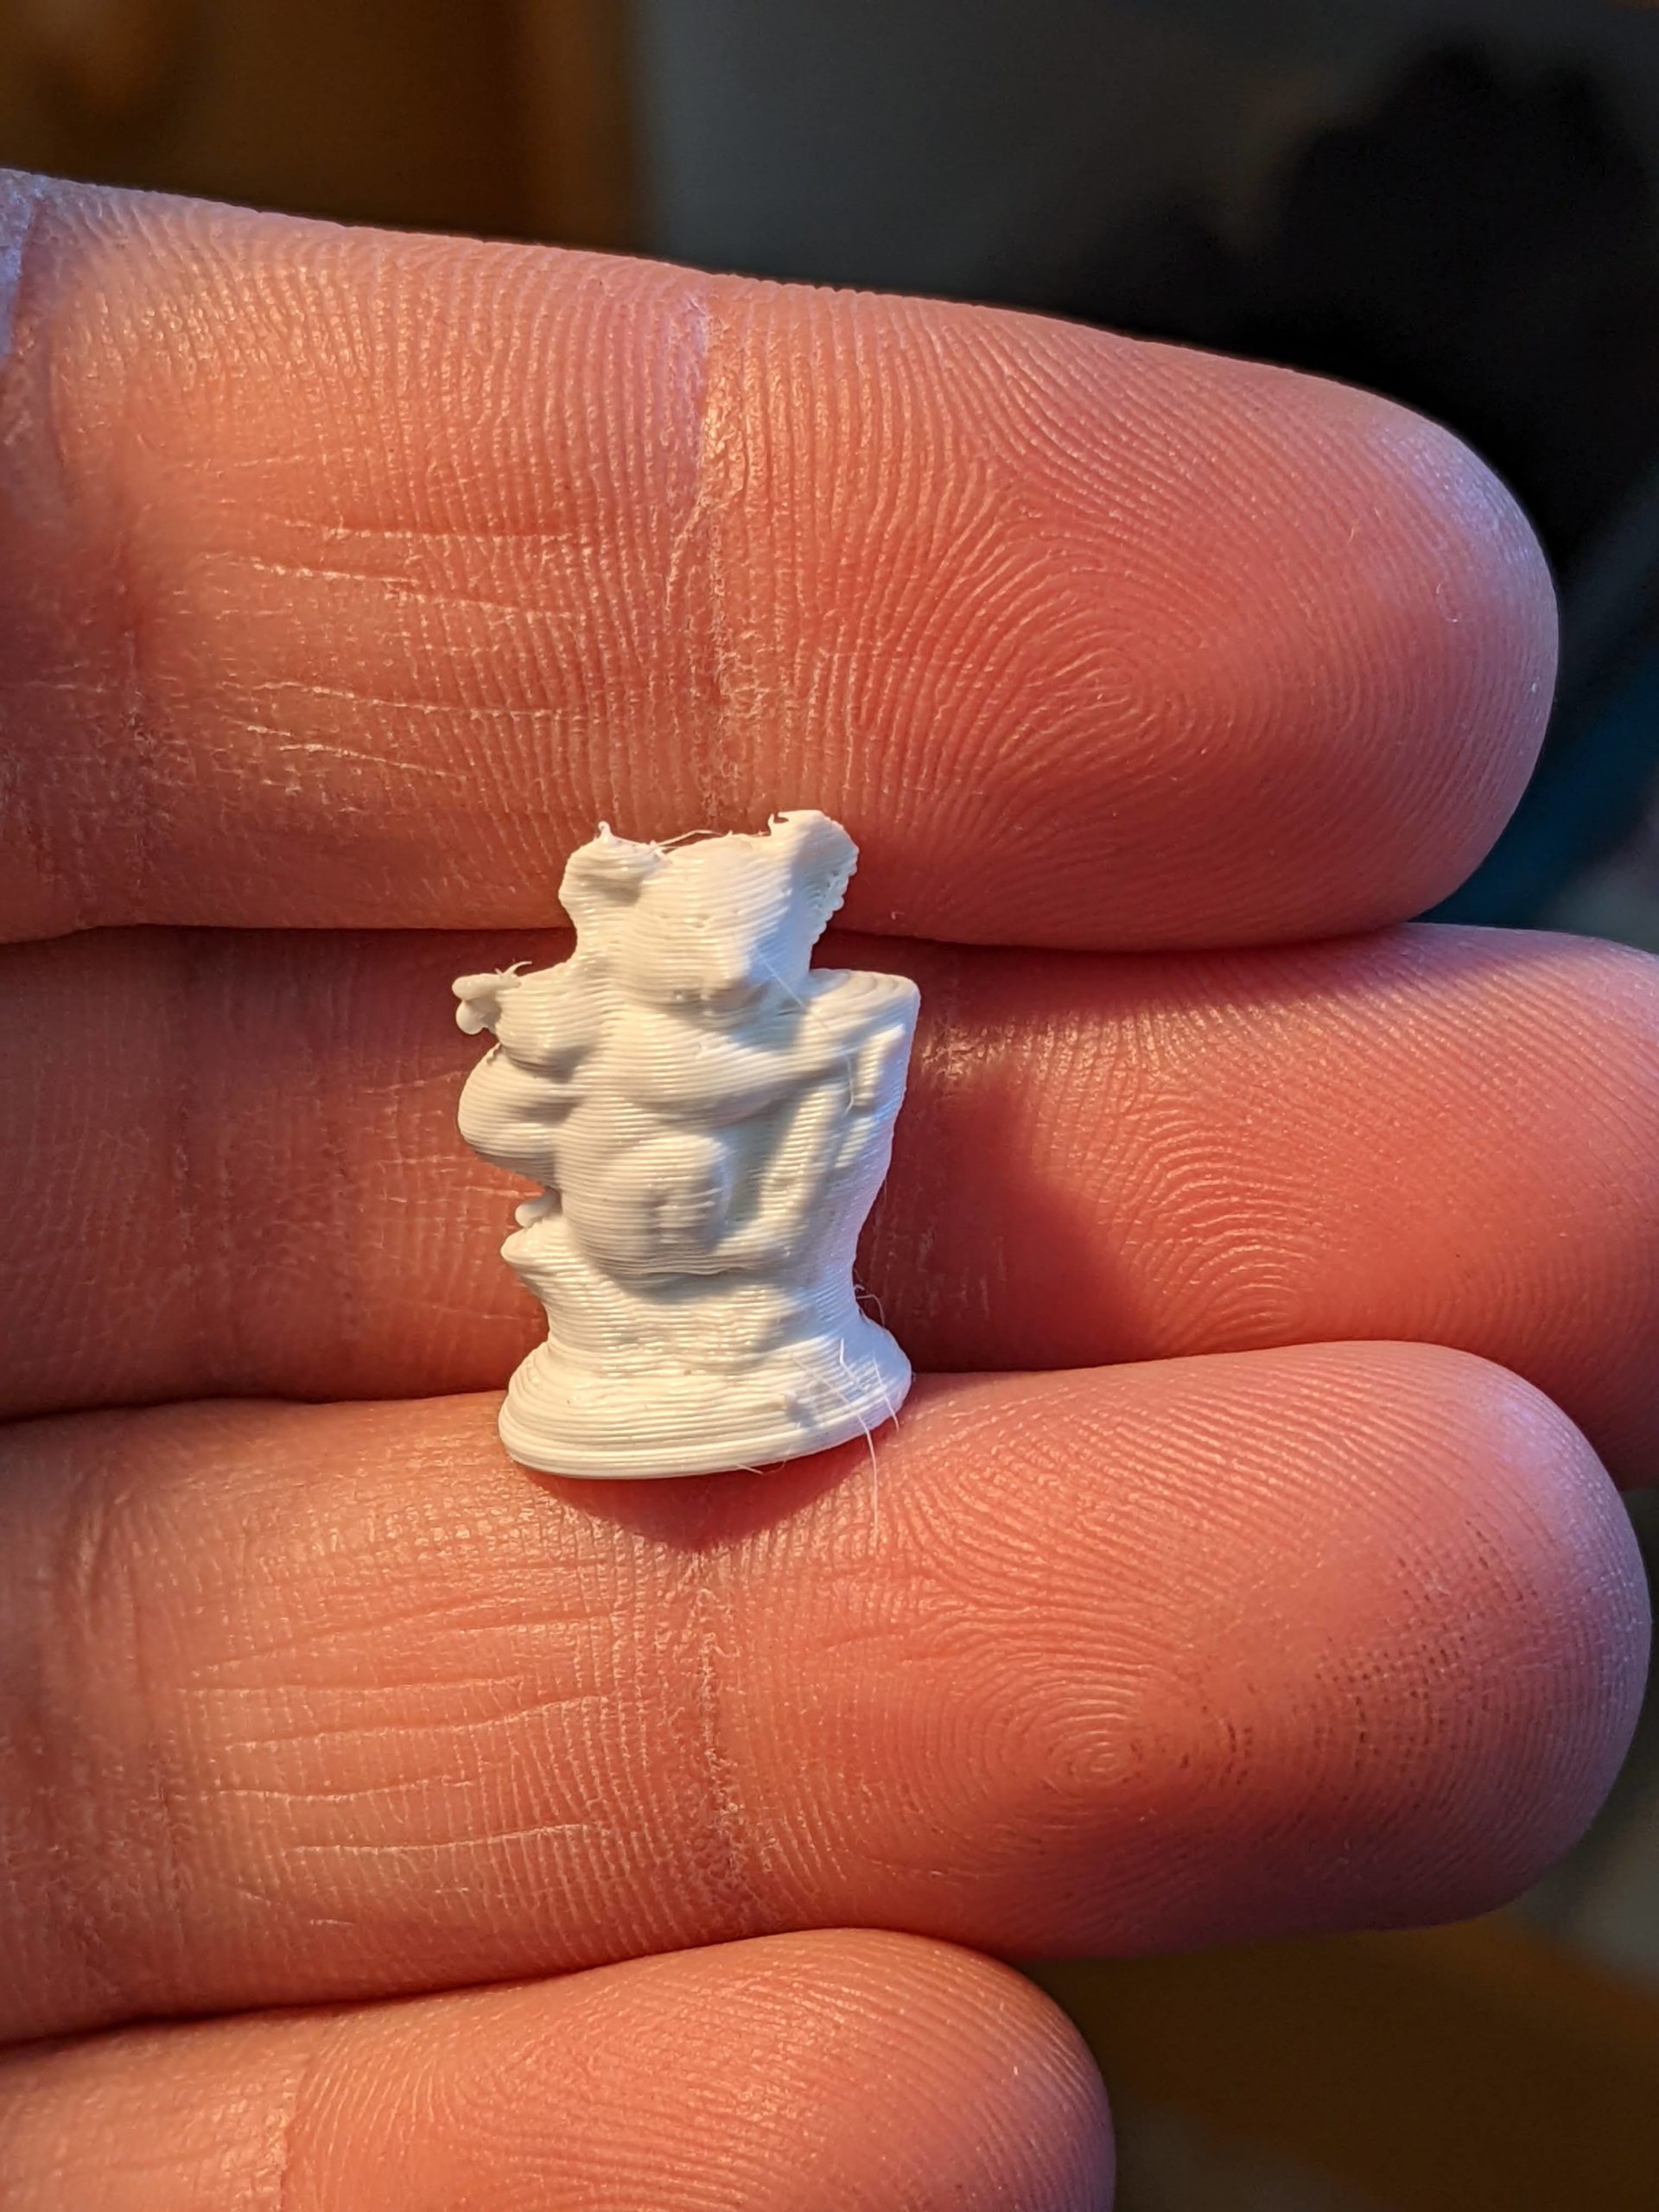
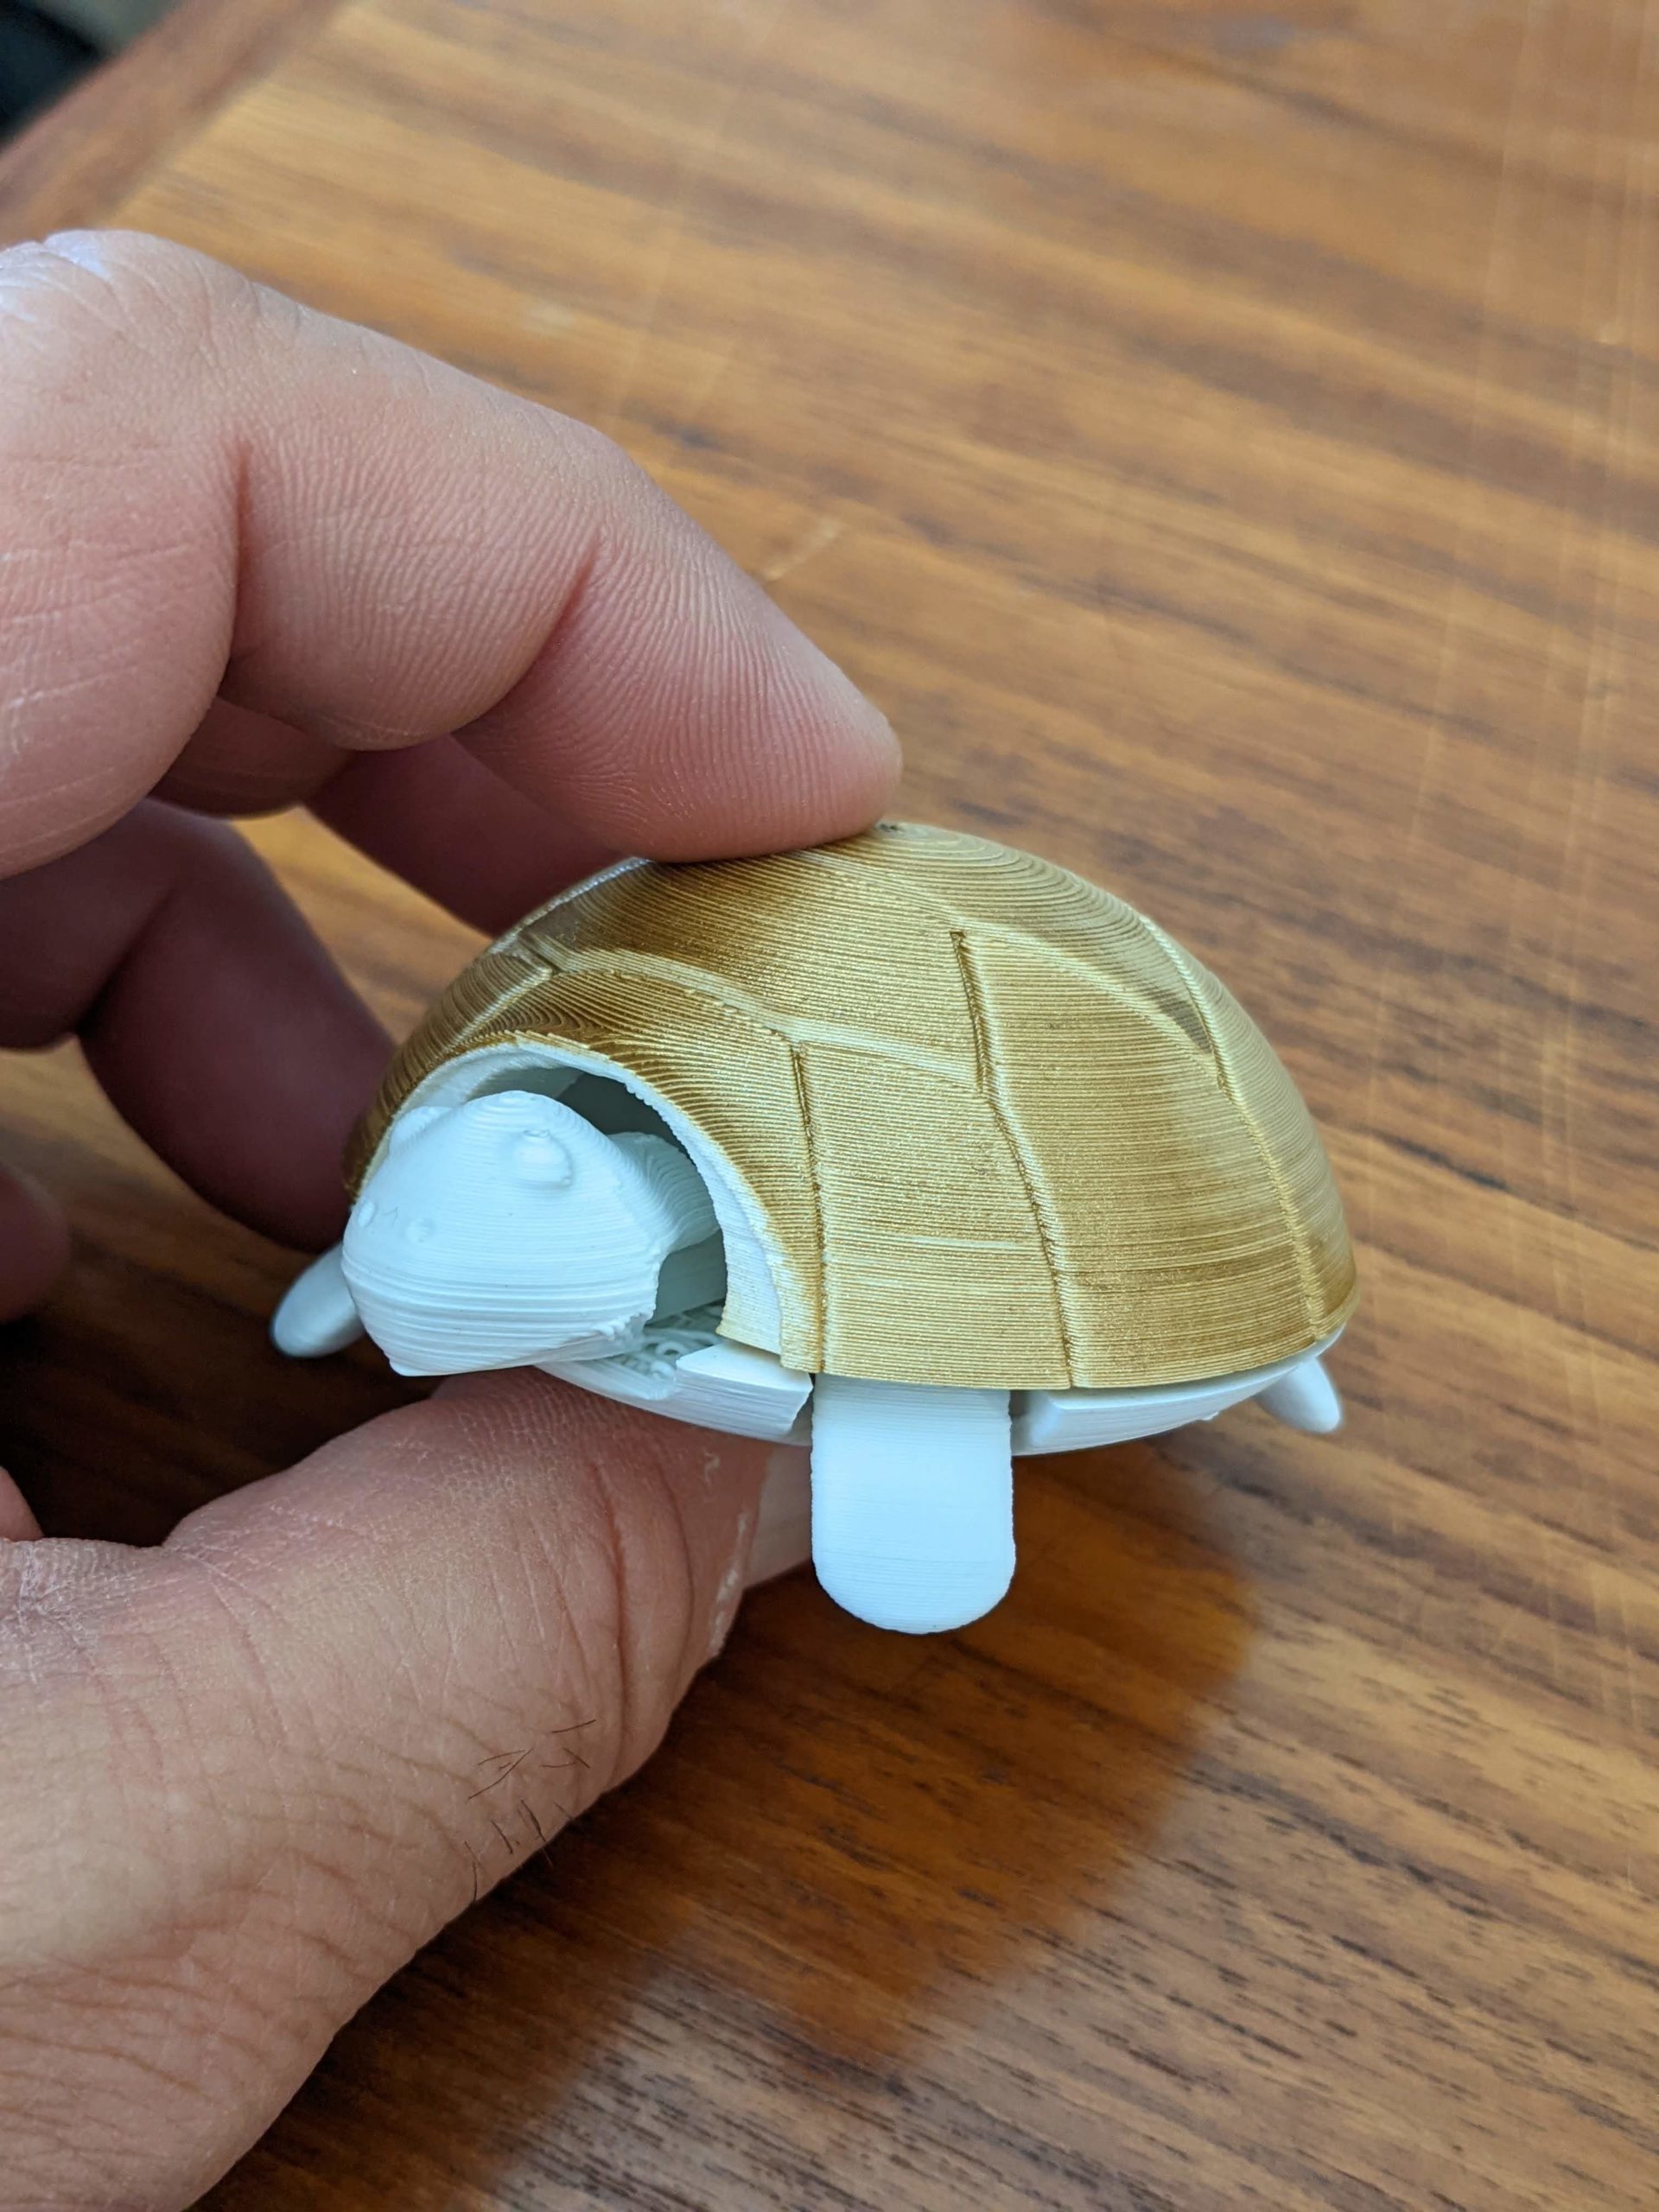
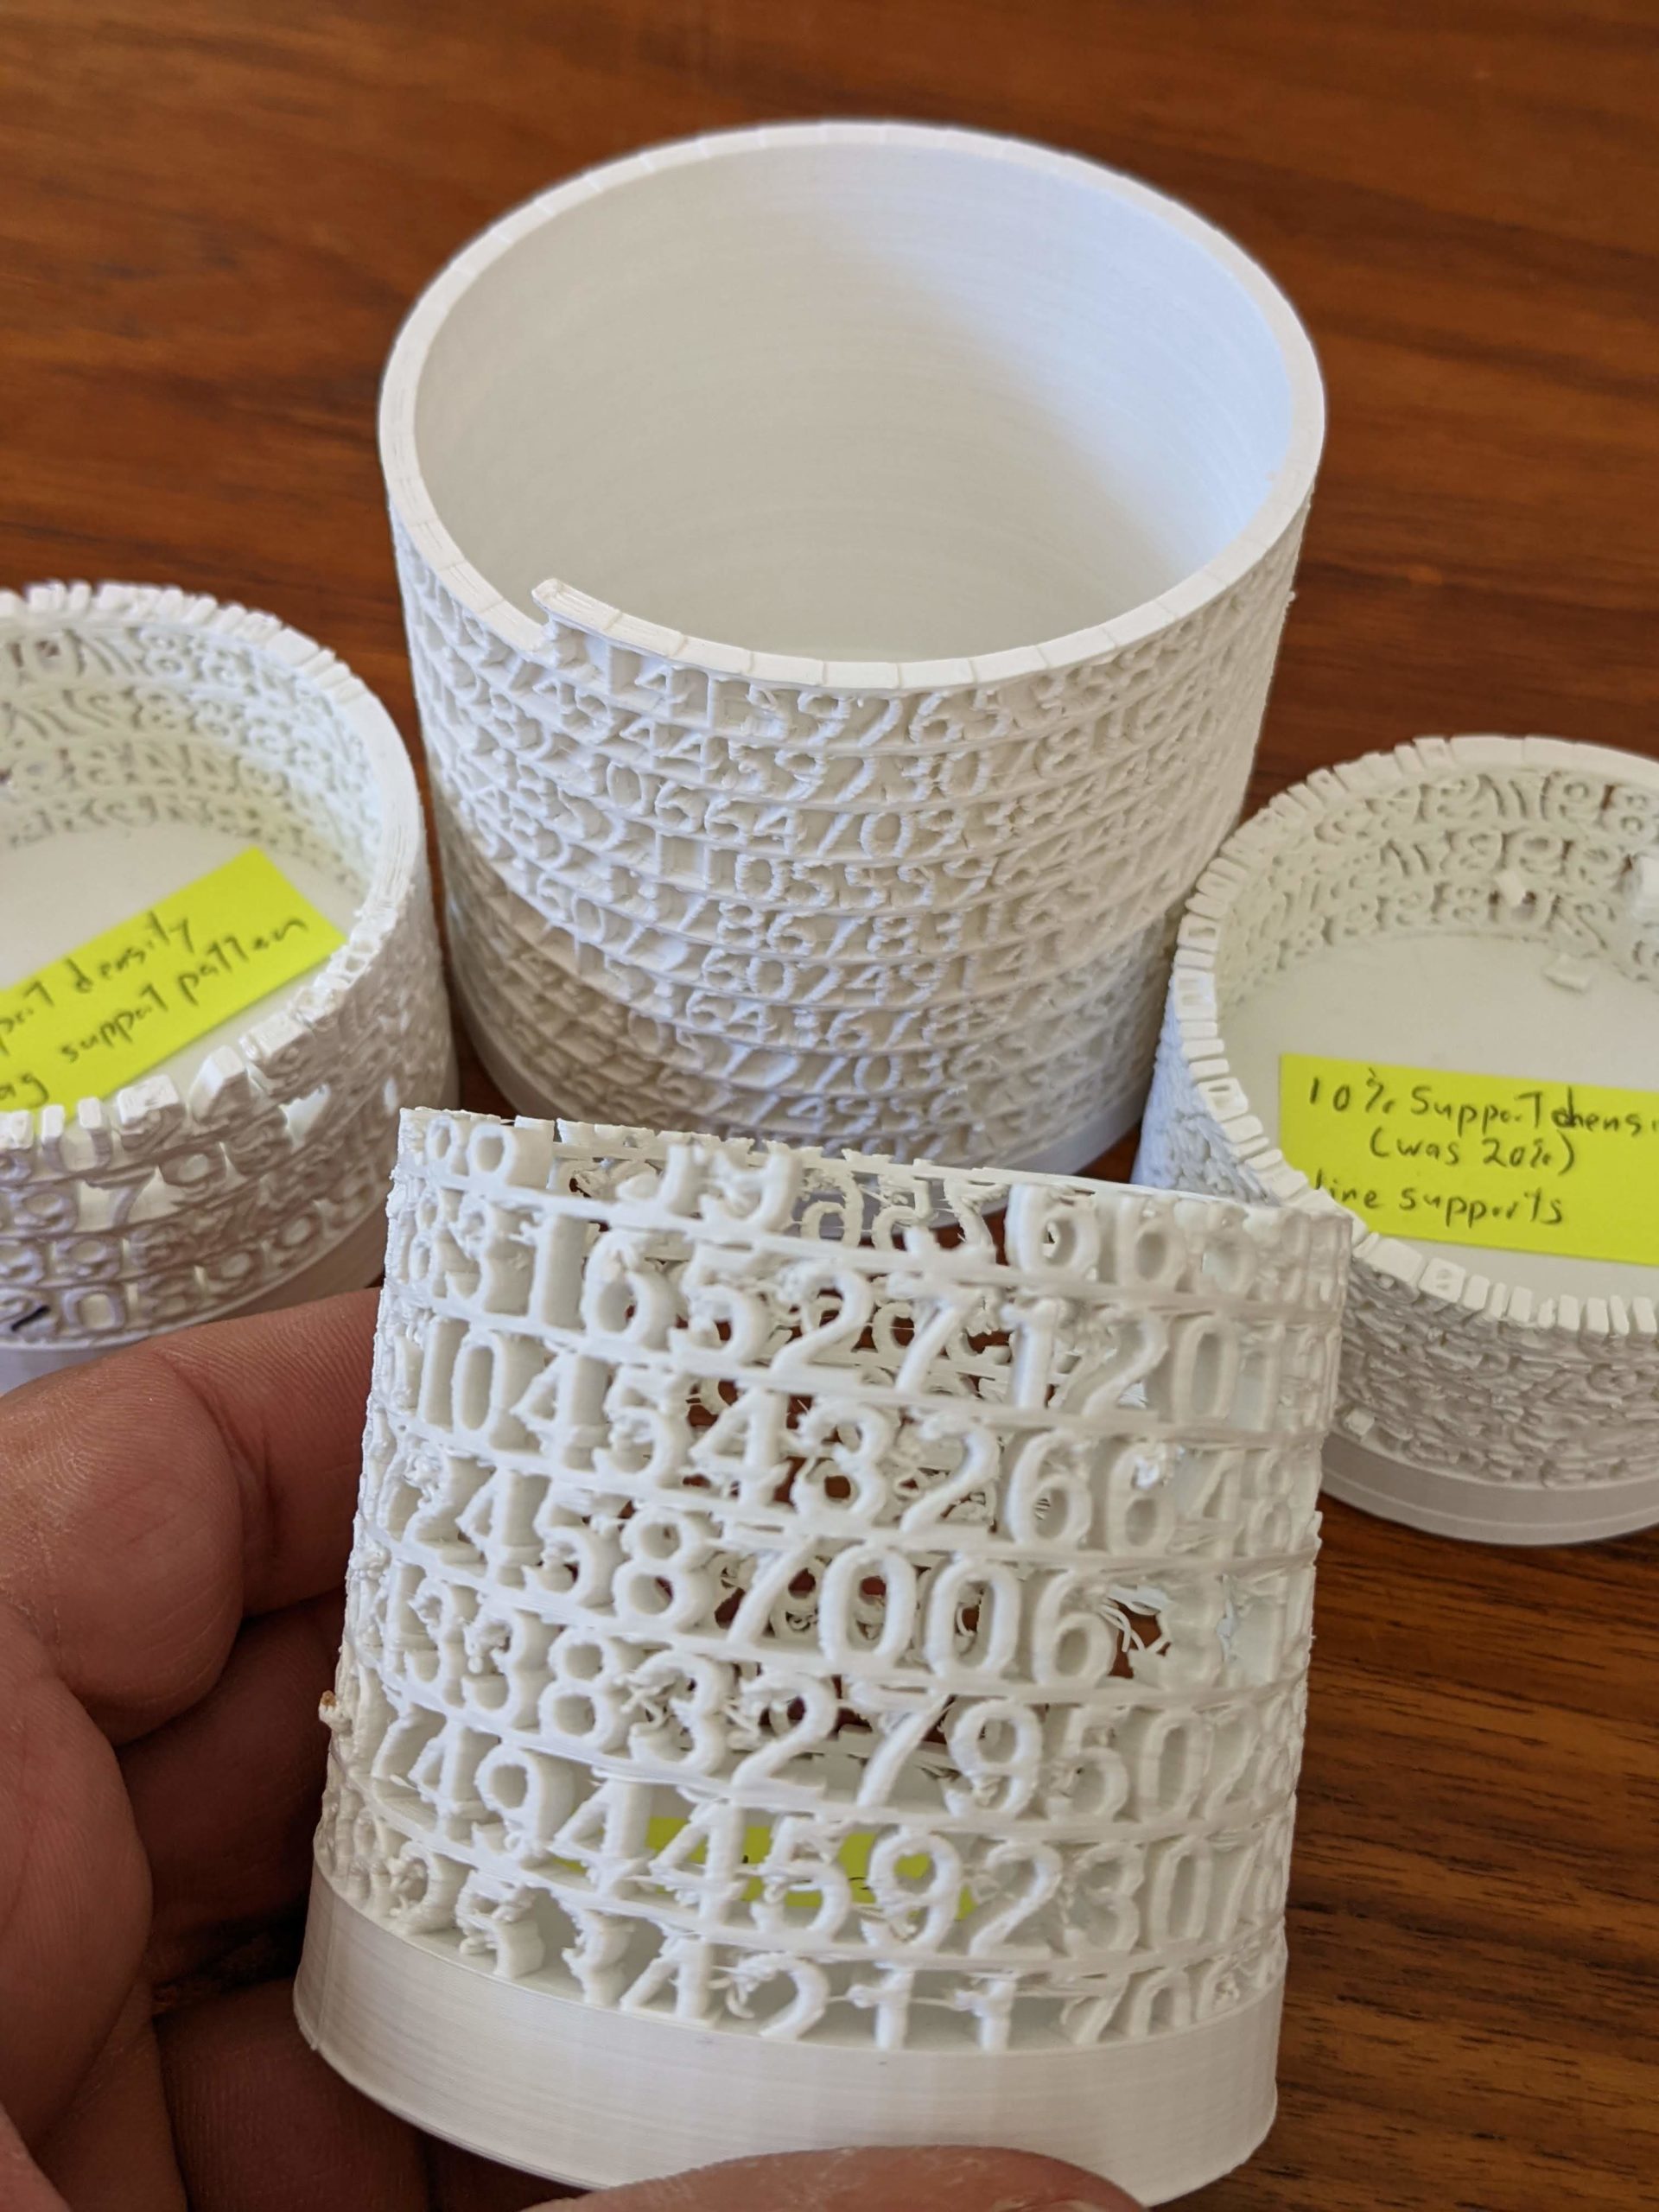
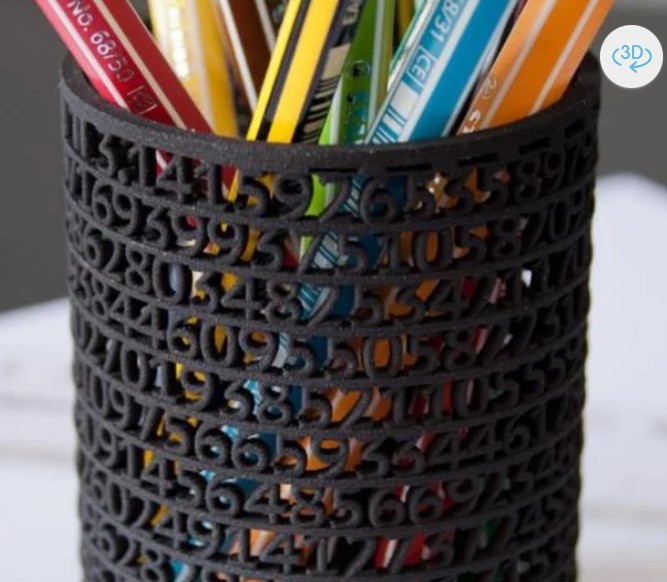
– poor dimensional adherence (pegs never quite fit holes, tabs never quite fit slots, etc. the new deburring tool helps some…)
– general strength of materials (I could switch to other materials but I haven’t mastered PLA yet!)
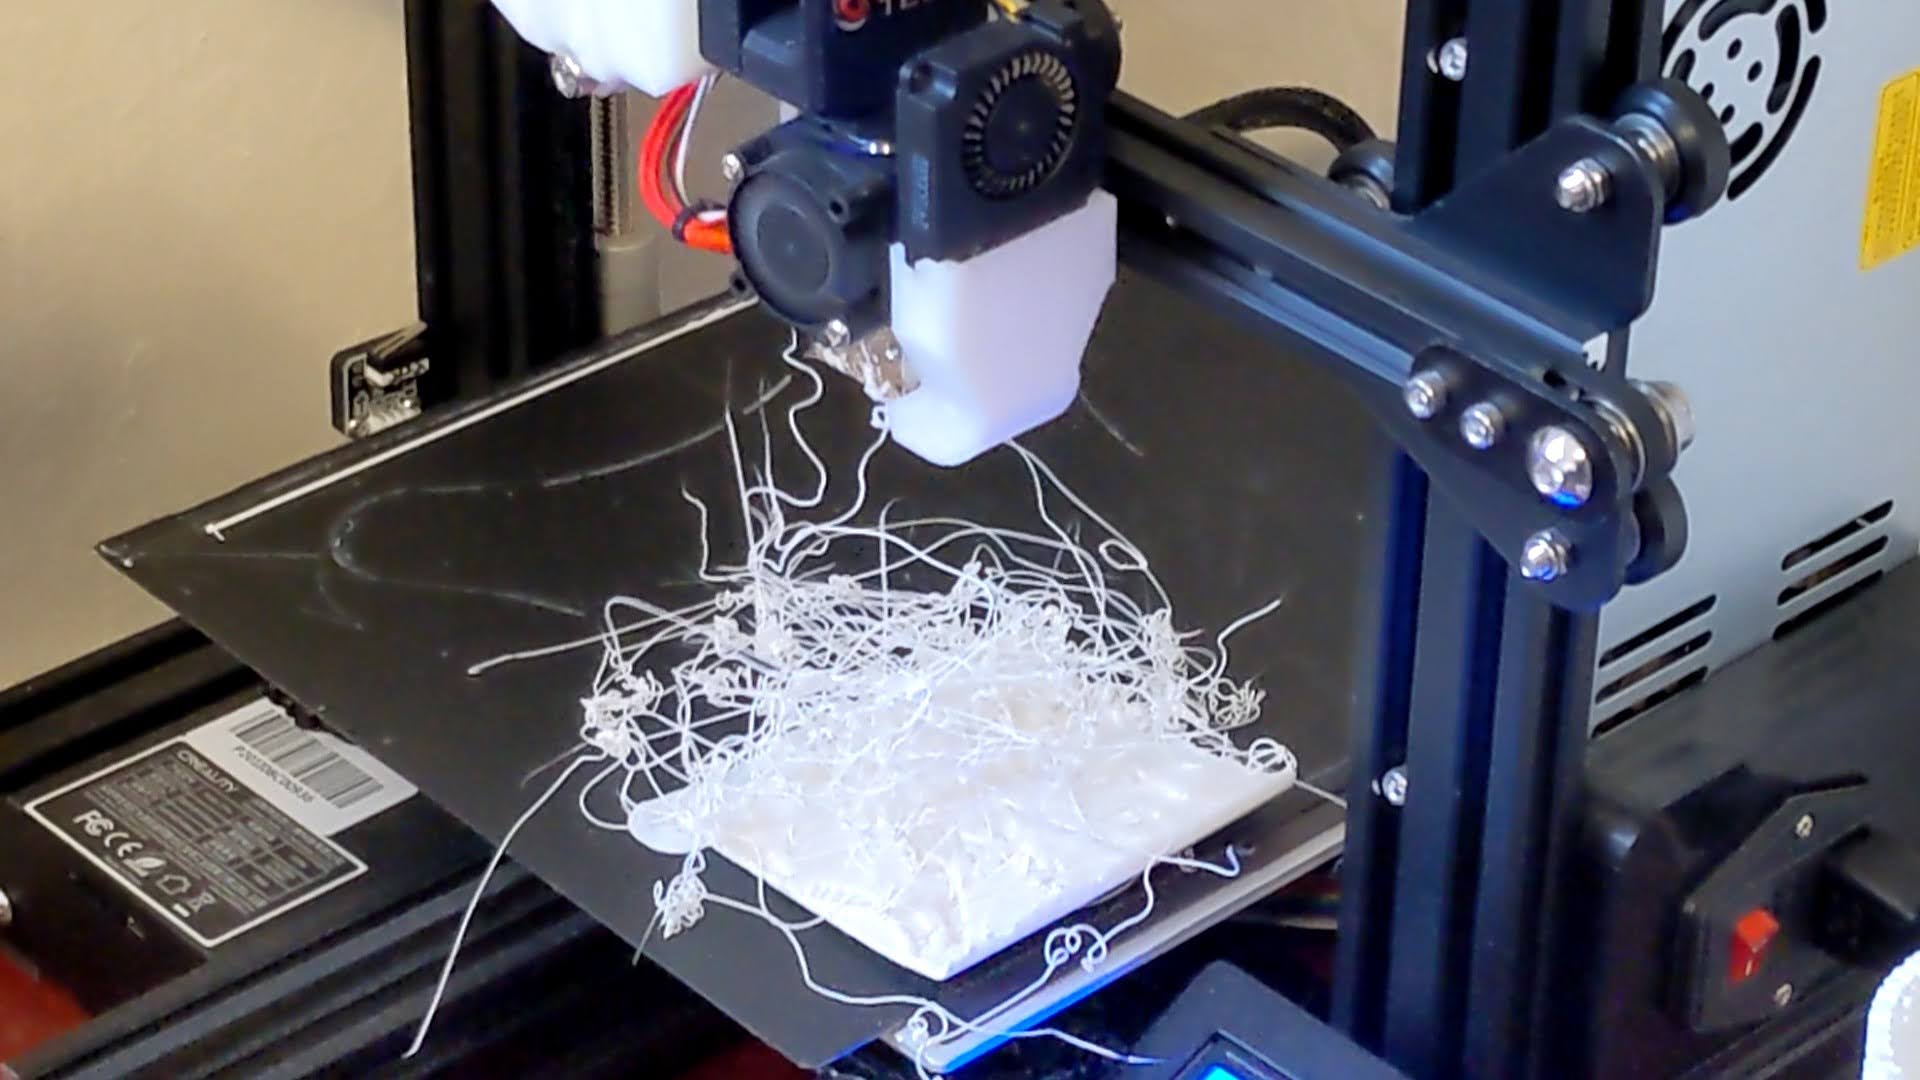
– an unsolved problem with filament occasionally jamming in the hot end
– the challenge of trying to fix any problem that takes 8+ hours to manifest, which is all of them!
– related to the last item, I feel like I haven’t learned anything after all my efforts. Solving each problem has been “fiddle with it until it works, now DON’T TOUCH IT!!! because no one knows why it works or doesn’t. But I’ve GOT to touch it to do anything but a beginner project.
– related to the same, there’s a zillion settings on Cura and no intelligent way to manage them. This becomes critical when you want to be able to change something to either fix or improve a setting. My 3d printer guru friend now devotes one of his 3D printers to a single type of filament (TPU) because he got it working and now he doesn’t dare touch it.
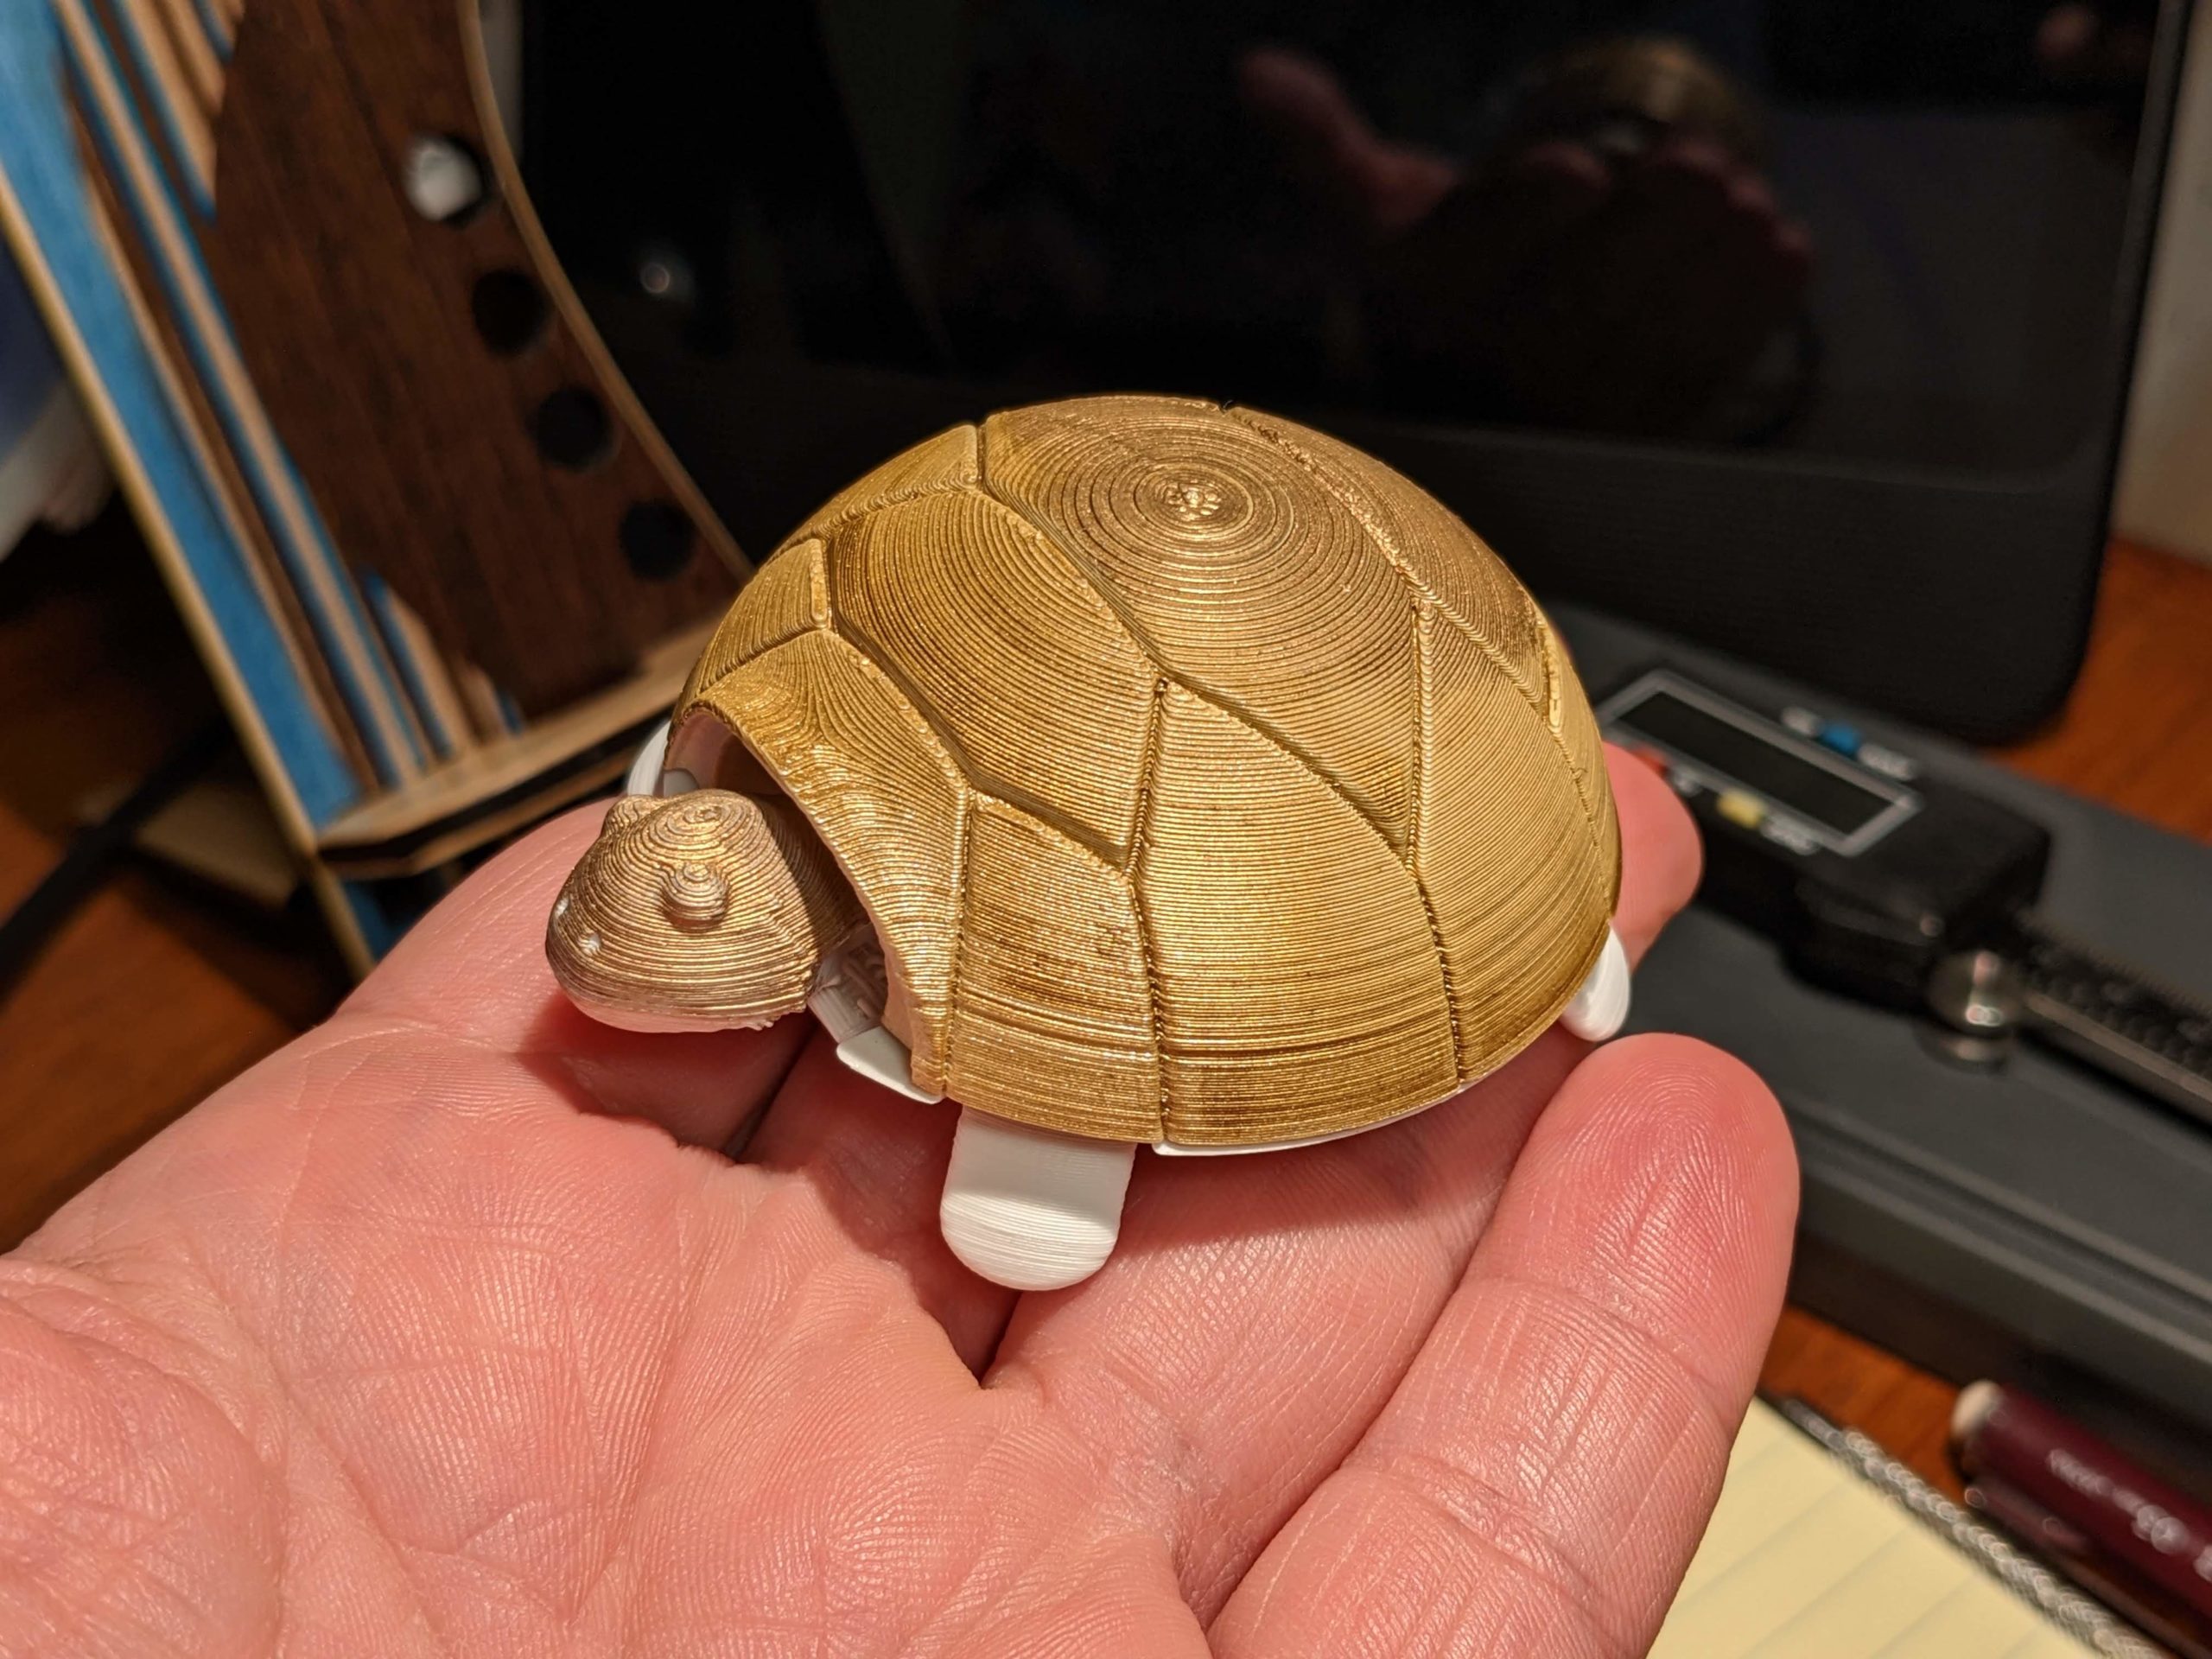
– Speed. Overnight prints are tolerable, 20 hour prints are okish. 50 hour prints? 500 hour prints? Blargh. Subjectively it’d be more tolerable if it were in a soundproofed room, and I was able to reliably make stuff, but the speed seriously limits production capabilities.

When I asked experienced friends for help, they didn’t have solutions to these issues.
I asked one friend about layer adhesion. He said, “oh, no problem, I just print in a different orientation.” I replied, “Yeah, but… so that big piece you showed me a minute ago, if you held it up and tried to pull it apart in the other directi…. ooo, it broke! Yeah, sorry.”

A maker acquaintance, Nick Anastasia reported to me on Facebook when I asked about teaching using 3D printers : (take note of all the pitfalls he reports)

I echo what I’ve seen from others so far. 3D printers are fiddly, even the high end ones. Figure out how much time you can budget towards both the instructor(s) getting super familiar with the ins and outs of the machine and having time to maintain them. This will always take twice as long as you think.
I’ve worked with middle school and high school kids on Creality Ender 3 printers which are super cheap and when they’re setup right they work well enough but can get out of wack in the blink of an eye. My strategy with them has been to have one or more hot spares ready to go. If a print fails rather than debug it on the spot just start it an another machine.
With high school students I was working in a robotics class so I turned tuning and adjusting the machines into mini mechanics and control software lessons. If you can fit that into your lesson planning and the students ability and interested allows go for it. Encourage tinkering and if you’re using super cheap printers they’re not going to break something particularly expensive if they mess up.
As for 3d design I start all my kids programs on tinkerCAD. It’s the quickest way I know to go from zero to 3D design in under 30 minutes. If kids are really into it then you could try to introduce more complex CAD but they will probably figure out the limitations of tinkerCAD and work around them to get the more complex shapes they want anyway.
Happy to be a sounding board for ideas.

Christine Mytko, “I agree with Nick Anastasia 100%”

My friend Tim Aidley reported similar challenges:

So a big thing about FDM 3D printers is that they still require a lot of handholding and fiddling with to get working well. The Prusas are very good in that in general they are set up very well out of the box, and are fairly reliable. However, you are likely to still get prints that fail partway through, or prints that fail to adhere to the bed etc.
It’s vitally important that whoever runs it knows how to fix these fairly common problems, otherwise you’re likely to end up with a bunch of machines that don’t really work in fairly short order.
I think the suggestion to have several identical printers is a good one. At the makerspace at my previous employer, there were for a while three 3d printers, all of which were different, and it was much too easy to accidentally use the slicing settings for the wrong printer, which would almost always screw up your print and had a fairly good chance of screwing up the printer.
Another thing about these printers is that they’re pretty stupid. The slicer program converts your 3d object in to a set of gcode instructions that the printer blindly executes – so on many printers it’s very possible to try and force the print head through the print bed if things are incorrectly calibrated. I have a printer with a nice scratch on the print bed from just such a thing happening, so you would need to have processes in place that would try and prevent such a thing from happening.

My friend Luke says:

working a 3d printer or a milling machine is a real skill. It is basically a tradesman skill job, specialized and worth having students learn. Like most useful skills, there is probably a fair bit of frustration as you go up the learning curve

Meredith said:

Huh. My ultimaker 2+ is an absolute work horse, and has been for 8+ years. All of my major issues were of my own making- not following basic upkeep, usually. My Form 3L’s main issue is that it’s on an unsteady shelf and I have to re-level it all the time, which I keep a steady supply of magic:the gathering cards for.
Having set up a few labs in my time, ultimately you have to know the difference between a project and a tool. The cheaper 3D printers can be projects in of themselves, while ones more consumer or prosumer oriented are tools. It’s also just a skill set and learning curve- adopting a new technology is. Even impact drivers have them.

So, it’s possible to use a 3D printer as a tool and not a project unto itself. I just haven’t gotten there.

12 AA Battery Tray

Here’s a 3D printed AA battery tray I made that I’m happy with. I couldn’t find it to buy, so I made it on my 3D printer.

Batteries are easy to drop into place and pick up, they don’t roll around at all in their trays or in the drawer, and I can stack batteries on top of them neatly. My friend Devon had printed several versions of battery holders for me a while back and they were pretty good, but what I really wanted was THIS. So I made it.

Designed in TinkerCAD. The 12 batteries each sit 0.5mm apart in cylindrical nests at a 1 degree angle which gives the bottom an attractive design on my FDM printer.

12 AA Battery Tray.stl (zipped)

3D Printing Things

I’ve had a lot of failures but I’m starting to get some successes 3D printing things.

At Autistry, I’ve successfully printed:
– Playing card holders for people that have trouble holding cards
– Scrabble racks. Our set only had 4 racks (which is typical) but we wanted to have 5 and 6 player games!
– A replacement piece for a game of Perfection
– Replacement pegs for a Solitaire game. I designed and made the piece from scratch, measuring the piece with my caliper
– Several types of fidgets for students. None have been winners with my students yet but my daughter likes these joystick ones.


I designed and printed a lampshade. Except for all the glare I got off this lamp, I really liked it. I bought it from Ikea, knowing that I’d probably have to modify it. I’m pretty happy with my mod!


I figured out how to make super-cute, custom soy sauce bowls, but I can’t figure out how to make them food safe :-(. In the image below, I’ve got a lithophane I made at ItsLitho with a frame and negative image. I could have printed it larger but this tiny one totally proved the concept. Except that 3D printed items aren’t food-safe, partially because of the plastic, but mostly because they’ve got all these little holes in them that can’t be easily cleaned. I’ll look into using 3D printing to create lost wax castings or embossing but it may be too much of a bother.


I’m very happy with the AA battery holder I designed and made for my battery drawer! My friend Devon had printed several versions of battery holders a while back and they were pretty good, but what I really wanted was THIS. So I made it! That feels pretty good and darn it if it doesn’t do it’s job perfectly. AA batteries are easy to drop into place and pick up, they don’t roll around at all in their trays or in the drawer, and I can stack batteries on top of them neatly.


I made a big impact on my daughter’s Halloween Odd Squad Agent costume, I made a custom badge with her number on it, and painted it very nicely! A neighbor gave us their child’s old homemade costume, complete with jacket, red trim, red tie, and nicely made Investigation Unit pin! The whole family was really happy with the results!


I’ve finally got making lithophanes dialed in. There were lots of little issues: the filament I was using initially was too dark, I had trouble with adhesion, some software snags, but now it works pretty well. It’s a bother that the 5 1/2″ by 5 1/2″ image below took 20 hours to print. That keeps the process firmly in the forever-experimental realm. When I first saw a lithophane, I thought the glow of the image was just magical. After trying to make so many of them, I’m a bit meh’ed on them.


I’m trying to make my battery holder into a snap-together modular system. Darn it’s a pain to dial in the snap-fit! Here are a couple fails, I’ve got many more! How would you snap 2 long pieces together end-to-end?


And look Maura, a turtle!

3D Printing Oops

Oops


I tried printing a lithophane at at a 15 degree angle instead of fully upright, hoping to avoid overhangs and came up with a delicious spaghetti print! Now I’m learning about custom support plugins for Cura. Here’s what the pre-spaghetti part of the lithophane looks like :-)


3D Printing can be Frustrating

I figured out how to use Minimum Layer Time and Lift Head in Cura. So now my pieces with small tops don’t melt. For example, my tiny 20mm tall Koala gets to keep his ears!

I made a spray can holder for Abigail so she could spray paint stuff more easily with her kid hands. Unfortunately, it broke on a layer line almost instantly :-(  I can’t think of a good fix. I printed on an angle so the collar would have more strength in the vertical direction. But now it snaps like this. I need strength in more dimensions!   I tried printing this with Gradual Infill Steps so I’d get 50% infill at the business end and 50/3 = 16.6% infill at the handle end. But that apparently wasn’t enough. :-(

I’m just going to buy it on amazon for $6!

I tried making pegboard pegs but it’s not going great. Actually, I’m proud for this being the first piece that I downloaded and modified in Tinkercad! I borrowed the design from Thingiverse. I replaced the original pegs with a 3.6mm cylinder peg on the bottom and a 3.6mm truncated torrus on the top. I was thinking that 3.7mm might fit a tiny bit better But it broke as I was mounting it. PLA is a frustratingly weak material!


I’ve printed a few fun things though! Abigail and I made a sign with her name and her camp name, Kids for the Bay. And I made her an Odd Squad badge, with a custom number on it, and painted it gold (it looks pretty good!) And I printed a few fun turtles.

There are a few pi pencil cups on the internets. Printing it so that it looks great is proving difficult! I see one on Shapeways for $50, printed all nice-like! I think I might get it.

Wouldn’t this be nice to have?


But the toothbrush holder has made it all worthwhile! Sublime in design, Useful in usefulness!


3D Printed Fun: Chain Clock

I came across this super fun Chain Clock on Thingiverse today.

Wow, I dreamed of making exactly this very thing a few years ago! I even went and built one in the Phun 2d physics simulator (that is now Algodoo) What a blast that was! I highly recommend playing with that toy as well!

I wanted to make mine out of bike chain and cut steel but… well, there’s never enough time! It really gives me a smile that such a thing exists in the world!

Update 8-12-22 Damn, someone built it real good! Via

3D Dinosaur

Abigail demanded that this cute dinosaur be her first 3D printed toy. Michael’s brother Devon printed it for her and she loves it!

3D printed dino

Learning and Teaching 3D Printing

My friends in the Kinetics Department at the Crucible are interested in learning 3D printing and then teaching it back to the whole building, running classes, the whole nine yards. Can you recommend learning opportunities for them? Would you like to join and help them be awesome? Write to me.

They have an Autodesk Ember 3D printer just sitting there waiting to become a tool of awesomness.